Org Users Projects
The CoRA application is structured around the concept of organization, users and projects. What does this mean for you? CoRA was designed to be used by both organizations and single users. Organizations can be government organizations, non-profits, universities or any entity that deals with the identification of missing persons, or segregation of human remains. Single users could be any single individual who wants to use CoRA for their own project, a use case might be for university students of forensic anthropology.
erDiagram
  ORG ||--o{ PROJECT : has
  ORG {
    string name
    string description
    string acronym
  }
  PROJECT ||--|{ SPECIMEN : contains
  PROJECT {
    string name
    string description
  }
  SPECIMEN {
    id bone
    string side
  }
  ORG }|--|{ USER : belongsTo
  USER {
    string name
    id role
  }
  USER }|..|{ PROJECT : assignedTo
Organizations
Organizations or simply "Orgs" in CoRA is a top level container. Orgs will usually have Users and Projects and Org Administrators can create these users and projects within that org and most importantly assign users to projects. The org administrator is also responsible to managing and updating the org profile which are attributes and settings that apply to all projects and users as well can control settings within CoRA.
Users
Users in CoRA belong to a org and user accounts are created are typically assigned to projects by the org administrator. Anyone who uses CoRA must have a user account and must be assigned a role (such as org administrator, anthropologist, dna analyst, isotope analyst, dentist, historian, etc). Each role provide a specific level of authorization to features within CoRA. The users are responsible for managing and updating their user profile which are attributes that can control user settings within CoRA.
Projects
Projects in CoRA is a container that holds specimens. In CoRA specimens must belong to a project and projects themselves belong to an org. Project attributes and settings can be controlled and managed by the project manager who is typically an anthropologist who is also assigned to that project.
Org Administrator
Every Org must have an Org Administrator (Org Admin for short) who is one of the Users with a privileged role. The Org Admin has the ability to create and manage the Users, Projects, Accession, Instruments, Haplogroups etc. Users with the Org Administrator role will be presented with the Administration menu to perform these functions. Lets look at some of these functions
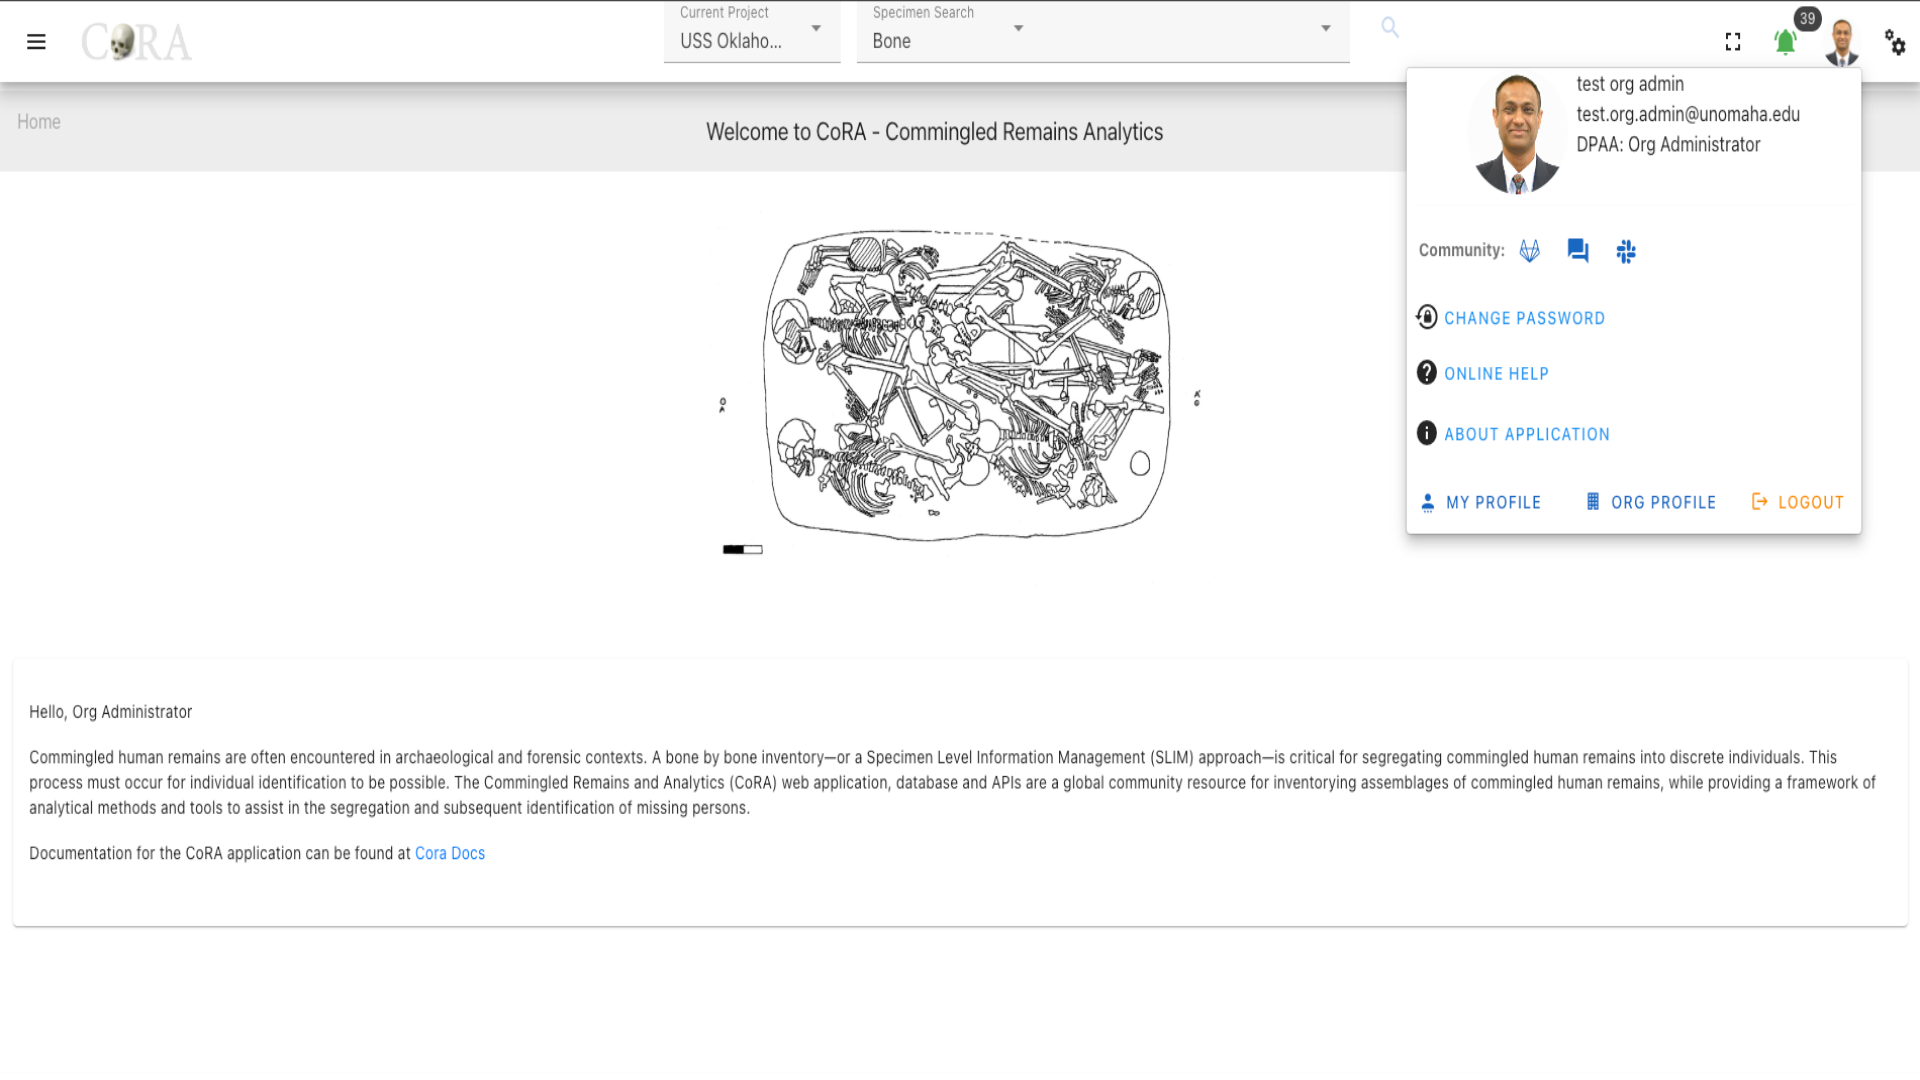
Navigation to Administration
An Org Admin can click on the hamburger and go to 'Administration' to find all the Administration pages.
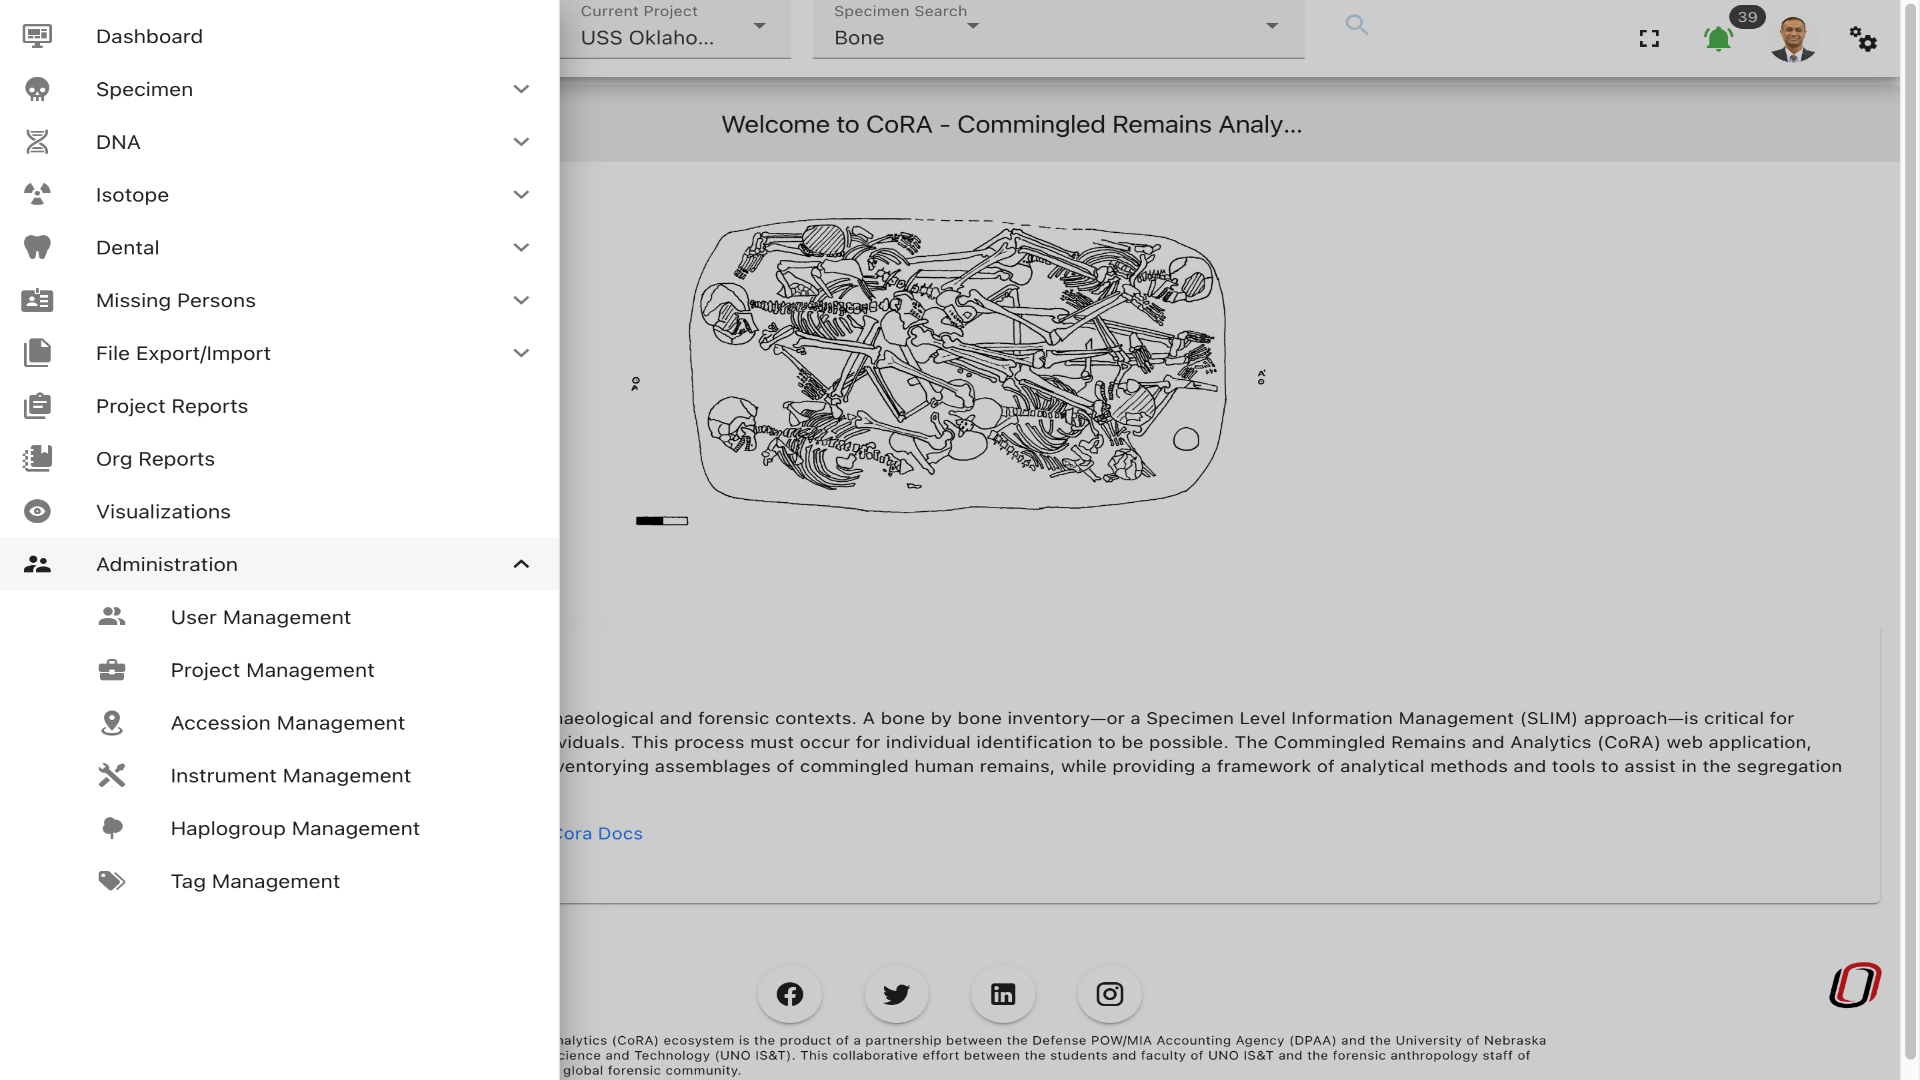
User Management
The Org Administrator has the ability to browse users list, create and manage the users along with the ability to assign users to projects. The user management screen provides a data table of all the users with information such as Name, Role, Email, Cell Phone, Active Status, Country, Language, Time Zone, IP Address, Last Activity, etc. The users list will be initially sorted on the user name and email. The data table also has an "Actions" column with buttons to reset the password, reset in-activity lock and edit the user record.
Tip
- You can edit the user by clicking the user name link.
- The column visibility will allow you to add more columns/details to the data table list.
- The Search box can be used to search any details in the data table list.
Create User
On the user management screen, click the Create button/icon to create a new user. Navigation to the user Management screen is shown below.
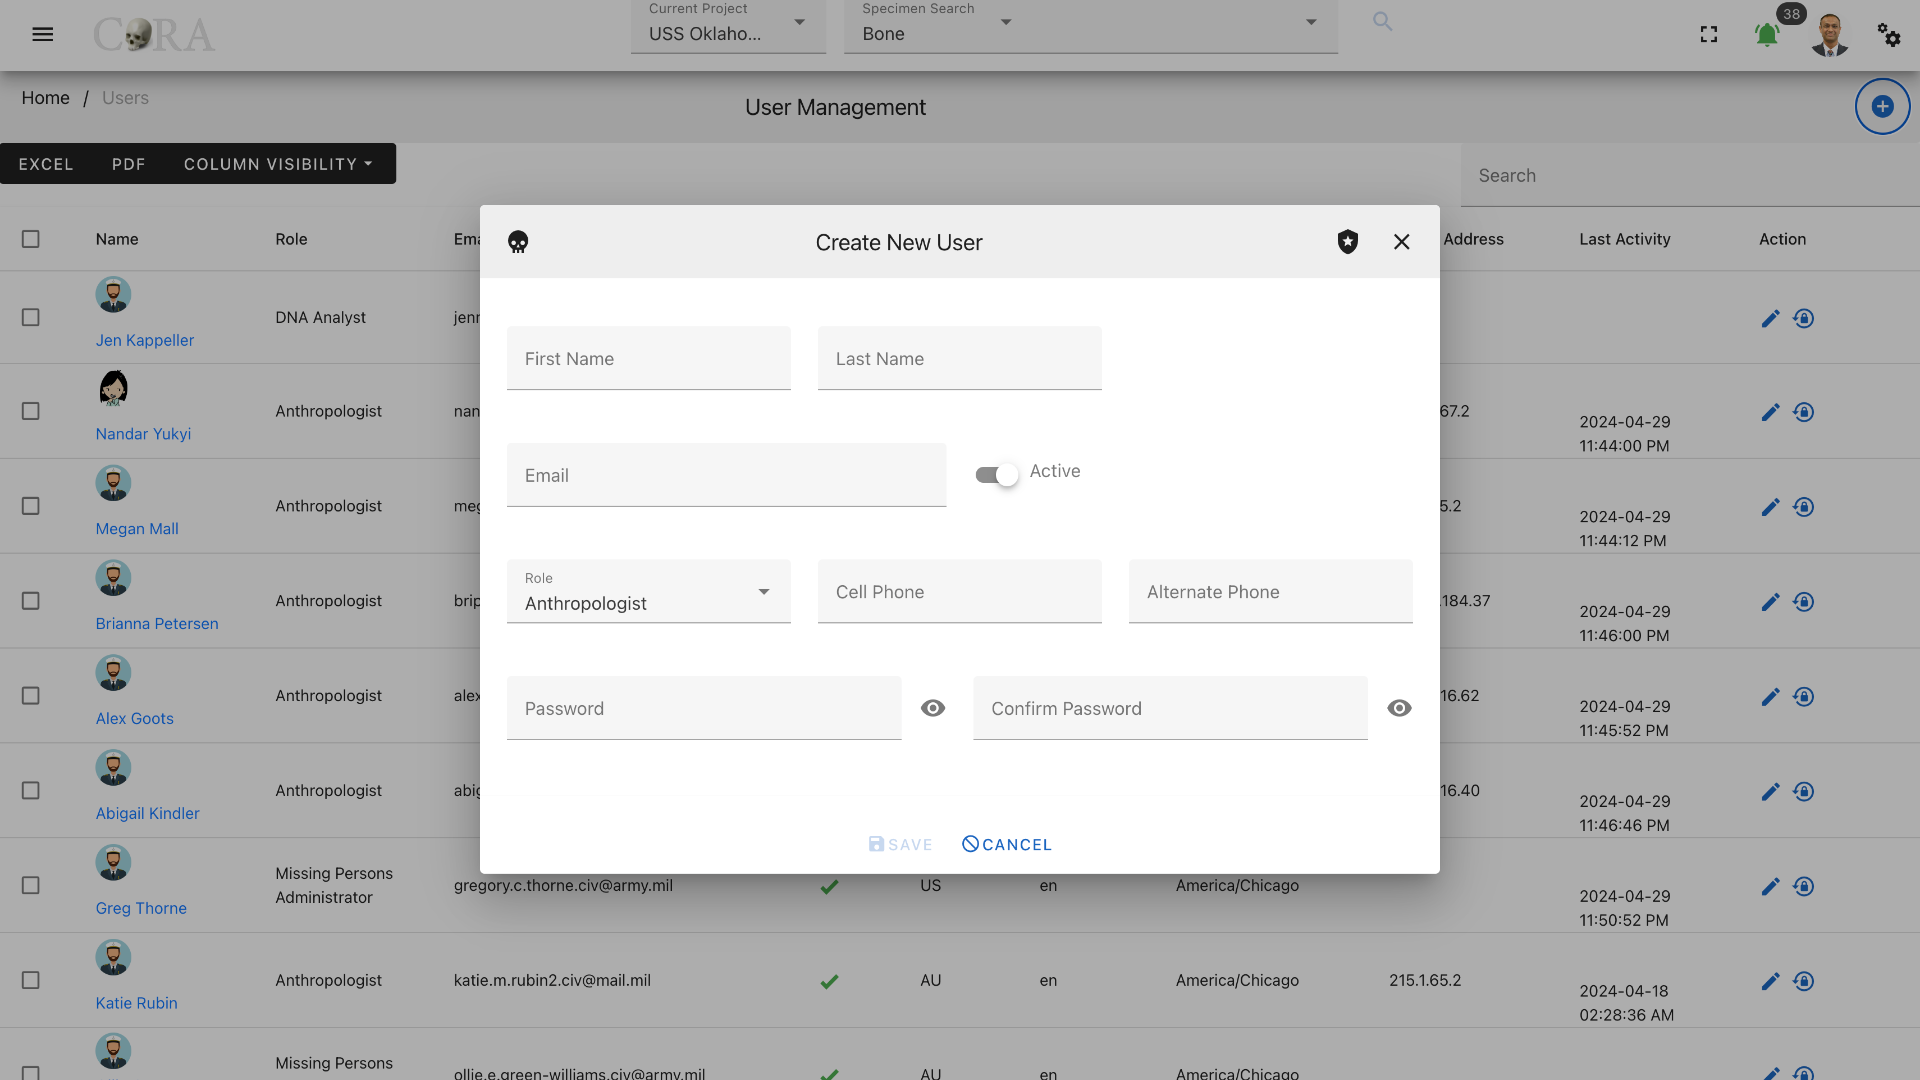
The Create button opens a dialog box to prompt to create a new user. Enter the information for the new user record, including the the "Role" field. Various user roles can be selected such as Org Admin, Anthropologist, Manager, DNA Analyst, Historian, Isotope Analyst. Intern, etc. Once all information is entered, click "Save", and a success message “User successfully added” will appear at the top.
The screen fields are shown below. Fields in bold are required.
| Attributes | Data Type | Size | Validation Rule | Required/Optional |
|---|---|---|---|---|
| First Name | String | 32 chars | contains letters | Required |
| Last Name | String | 32 chars | contains letters and dash | Required |
| String | 255 chars | max 255, unique | Required | |
| Role | Id | valid option via dropdown | Required (Default Anthropologist) | |
| Active Status | Boolean | true/false toggle | Required (Default Active) | |
| Cell phone | String | 32 chars | contains numbers and dash | Optional |
| Alternate phone | String | 32 chars | contains numbers and dash | Optional |
| Password | String | 64 chars | min 10, at least 1 letter, 1 cap, 1 number, 1 special | Required |
| Confirm Password | String | 64 chars | min 10, at least 1 letter, 1 cap, 1 number, 1 special | Required |
Note
Users will be able to change their password once they have logged in. Ensure to check the Active box so that the user account is active and the user can login.
Note
After the user has been created the Org Administrator must assign that user to at least one project.
Edit User
To edit an existing users information, simply click on the Name and the edit dialog box will open for editing the existing user information. The following fields are available for update, click "Save" when finished editing, or "Close" to cancel the changes.
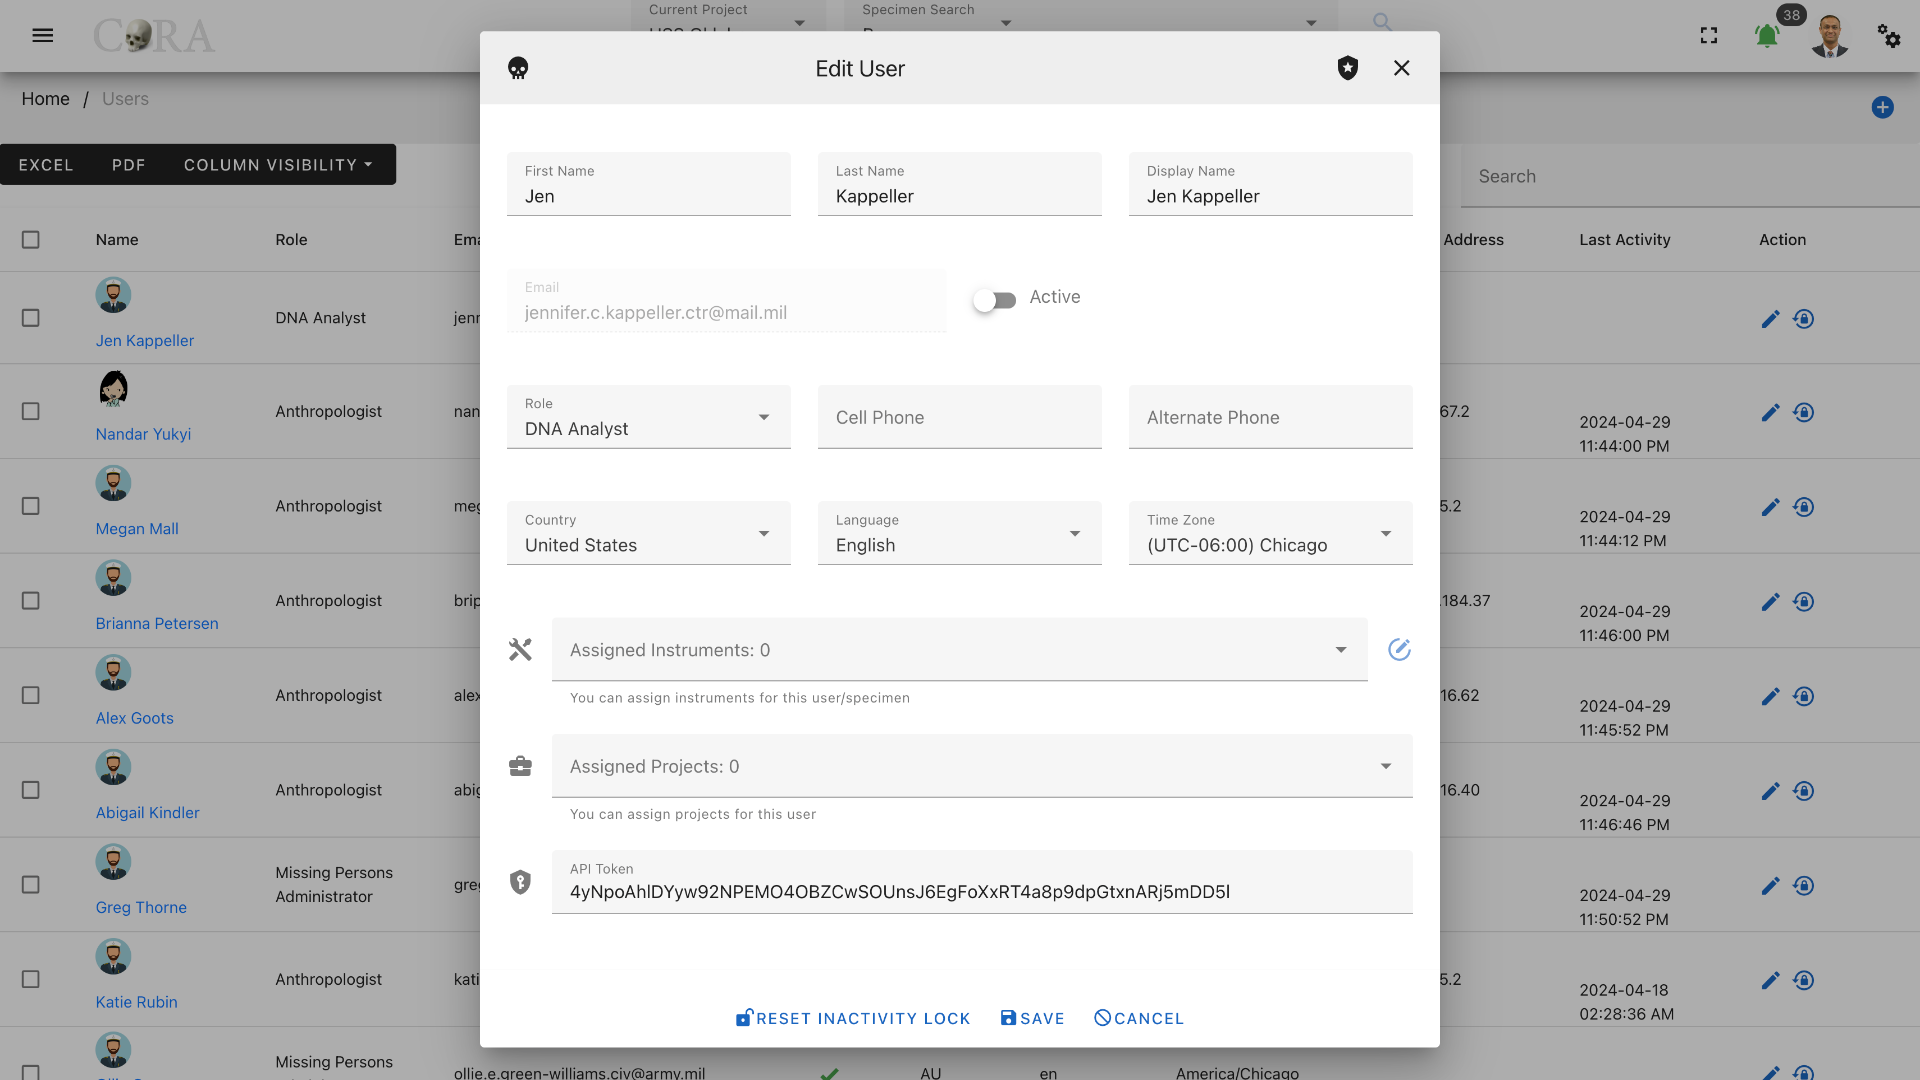
The screen fields are shown below. Fields in bold are required.
| Attributes | Data Type | Size | Validation Rule | Required/Optional |
|---|---|---|---|---|
| First Name | String | 32 chars | contains letters | Required |
| Last Name | String | 32 chars | contains letters and dash | Required |
| Last Name | String | 32 chars | contains letters and dash | Optional |
| String | 255 chars | max 255, unique | Required | |
| Active Status | Boolean | true/false toggle | Required (Default Active) | |
| Role | Id | valid option via dropdown | Required (Default Anthropologist) | |
| Cell phone | String | 32 chars | contains numbers and dash | Optional |
| Alternate phone | String | 32 chars | contains numbers and dash | Optional |
| Country | String | valid option via dropdown | Required (Default United Stated) | |
| Language | String | valid option via dropdown | Required (Default English) | |
| Timezone | String | valid option via dropdown | Required (Default UTC-06:00 Chicago) | |
| Instruments | Id | valid options via dropdown | Optional | |
| Projects | Id | valid options via dropdown | Required (at least one) | |
| API Token | String | 255 chars | valid token string | Optional/Required for API |
Batch Edit Users
The user management screen allows for batch editing of multiple user records. This can be useful to administrators for passwords resets, change user active status flag, etc. To batch edit, select multiple users by clicking on the boxes to the left of their names, this will show the "Actions" menu in the top-left menu, select the Actions > Batch Edit menu.

The screen fields for batch edit are shown below.
| Attributes | Data Type | Size | Validation Rule |
|---|---|---|---|
| Active Status | String | 32 chars | contains letters |
| Assigned Instrument | String | 32 chars | contains letters and dash |
| Country | String | valid option via dropdown | |
| Language | String | valid option via dropdown | |
| Timezone | String | valid option via dropdown |
User Access
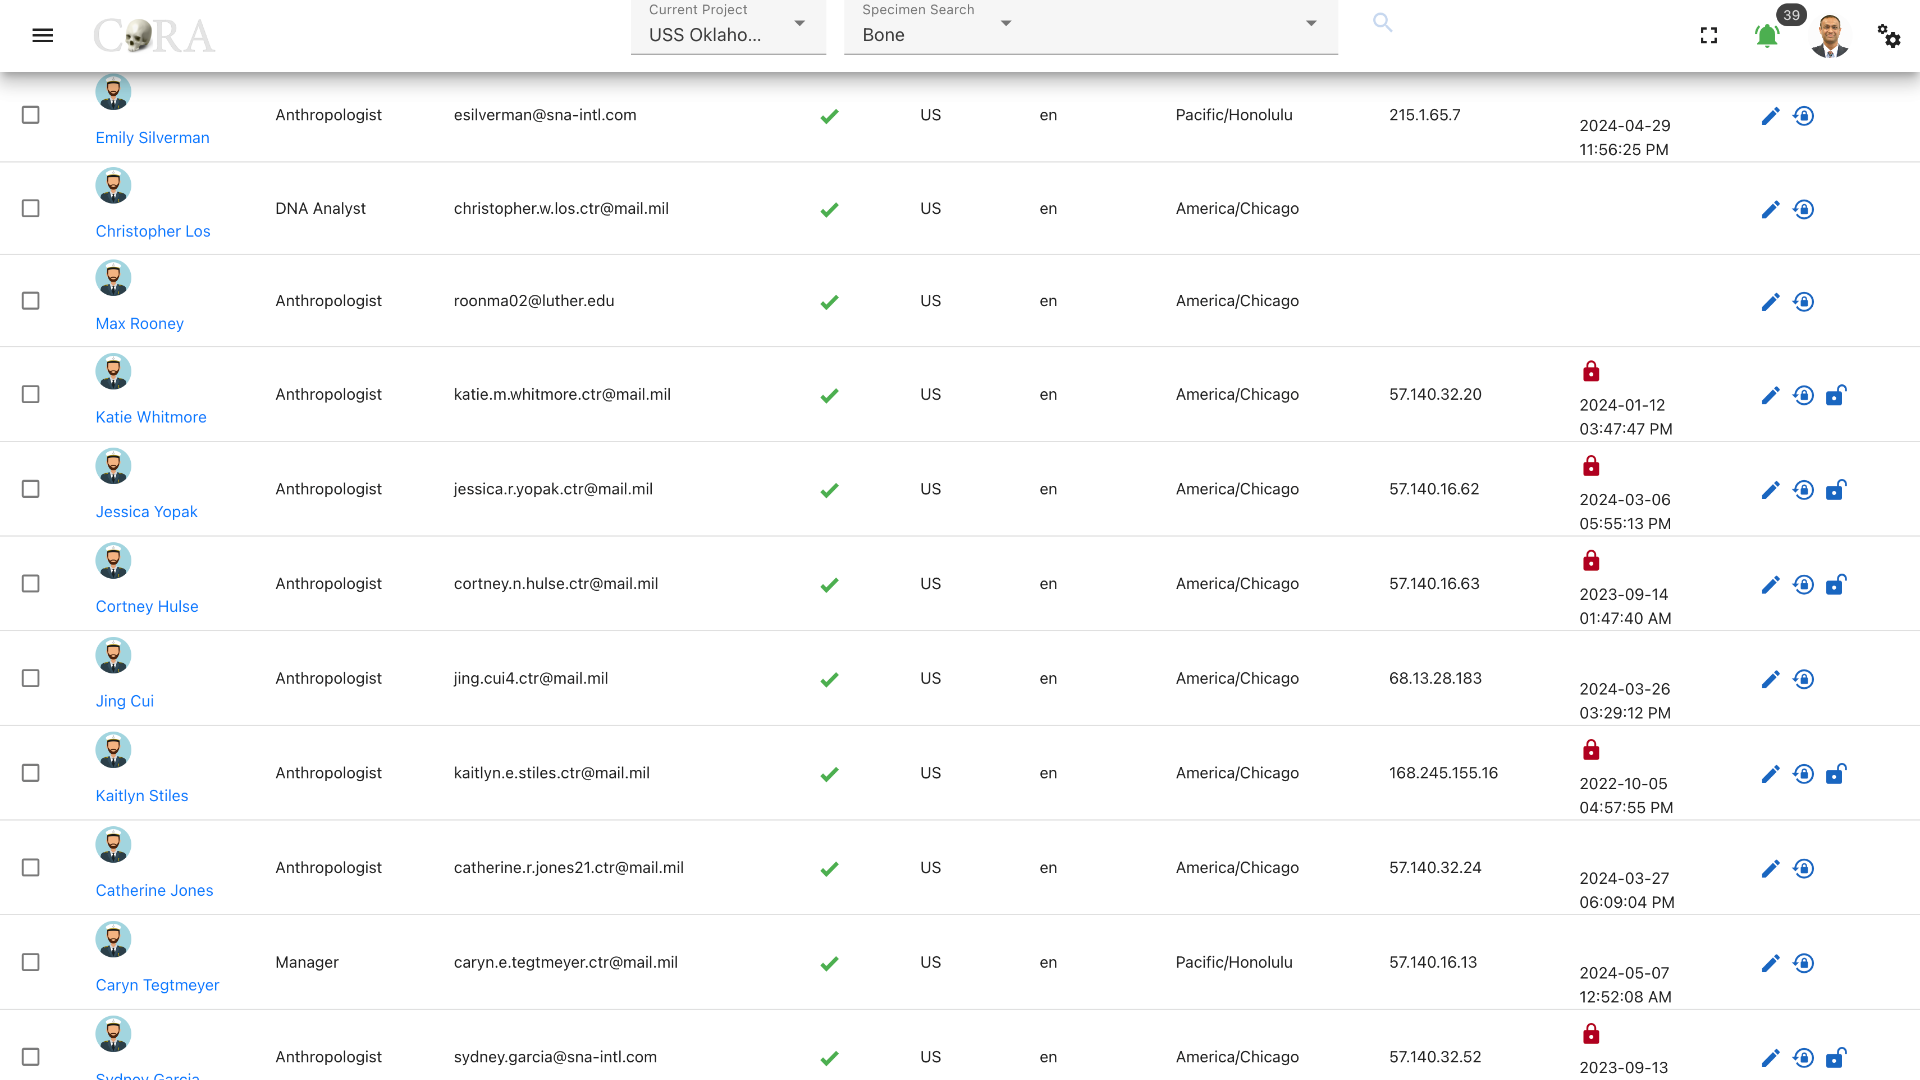
If a user has too many incorrect login attempts, the user will be unable to log in for the lockout period. Currently, the number of incorrect login attempts is set to 3, and the lockout period is 10 minutes.
If a user is inactive for too many days (configured by organization), their account will be suspended, and a lock icon will appear next to their last activity date in the User Management screen. The default value for inactive days resulting in suspension is 60 days.
To reactivate their account, click on the Reset Inactivity Lock icon, an open the padlock, on the far right side of the user row.
To reactivate multiple accounts, select multiple users by clicking on the boxes to the left of their names. Then, select Actions in the top-left menu, then click on Batch Edit. In the popup, click on Reset Inactivity Lock.
To reset an account password, click on the Password Reset icon to open the Reset Password dropbox. Enter the new password and confirm the newly entered password to reset the password
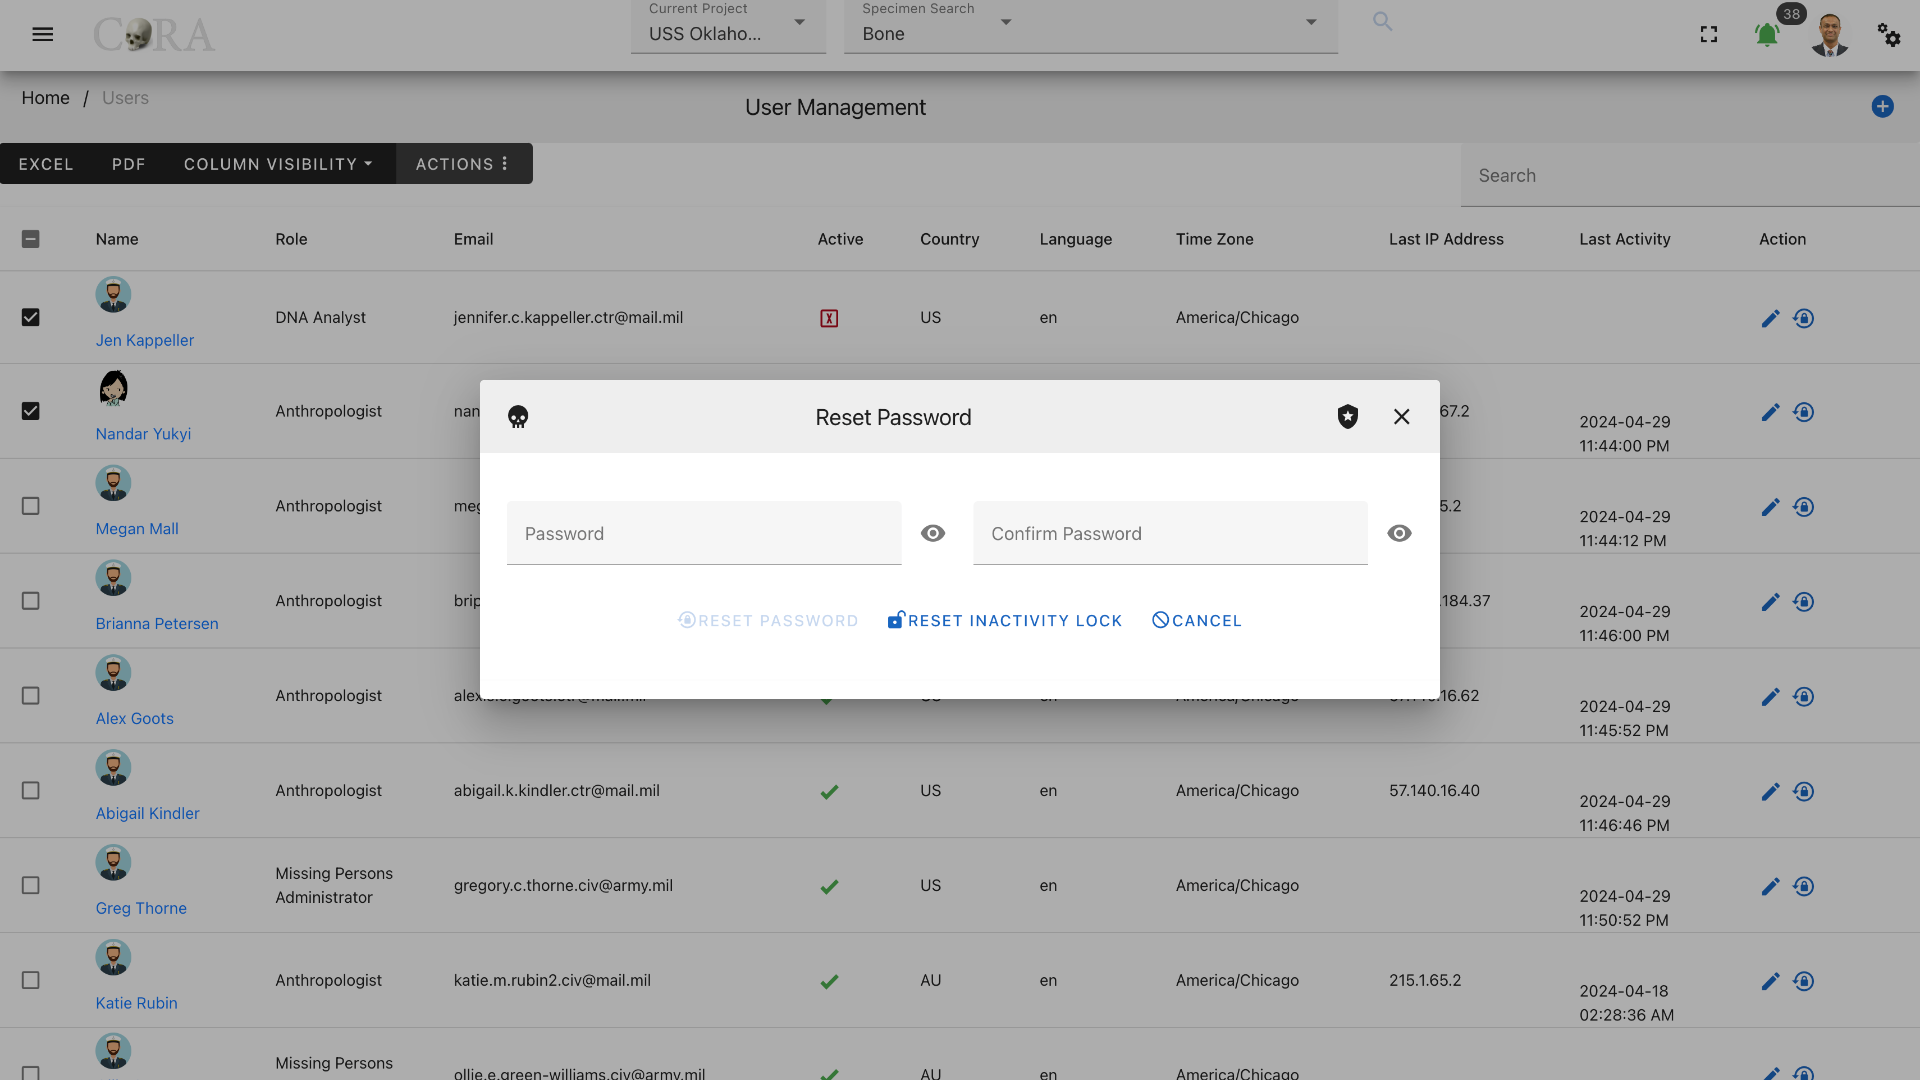
The screen fields are shown below. Fields in bold are required.
| Attributes | Data Type | Size | Validation Rule | Required/Optional |
|---|---|---|---|---|
| Password | String | 32 chars | contains letters | Required |
| Confrim Password | String | 32 chars | contains letters and dash | Required |
Project Management
The Org Administrator has the ability to browse project list, create and manage the projects along with the ability to assign users to projects. The project management screen provides a data table of all the projects with information such as Name, Description, Manager, Start Date, Status and whether it is Public or not. The projects list will be initially sorted on the project name. The data table also has an "Actions" column with buttons to edit the project.
Tip
- You can edit the project by clicking the project name link.
- The column visibility will allow you to add more columns/details to the data table list.
- The Search box can be used to search any details in the data table list.
Create Project
On the project management screen, click the Create button/icon to create a new project. Navigation to the project management screen is shown below.
The Create button opens a dialog box to prompt to create a new project. Enter the information for the new project record, including the the "Manager" field. Once all information is entered, click "Save", and a success message “Project successfully added” will appear at the top.
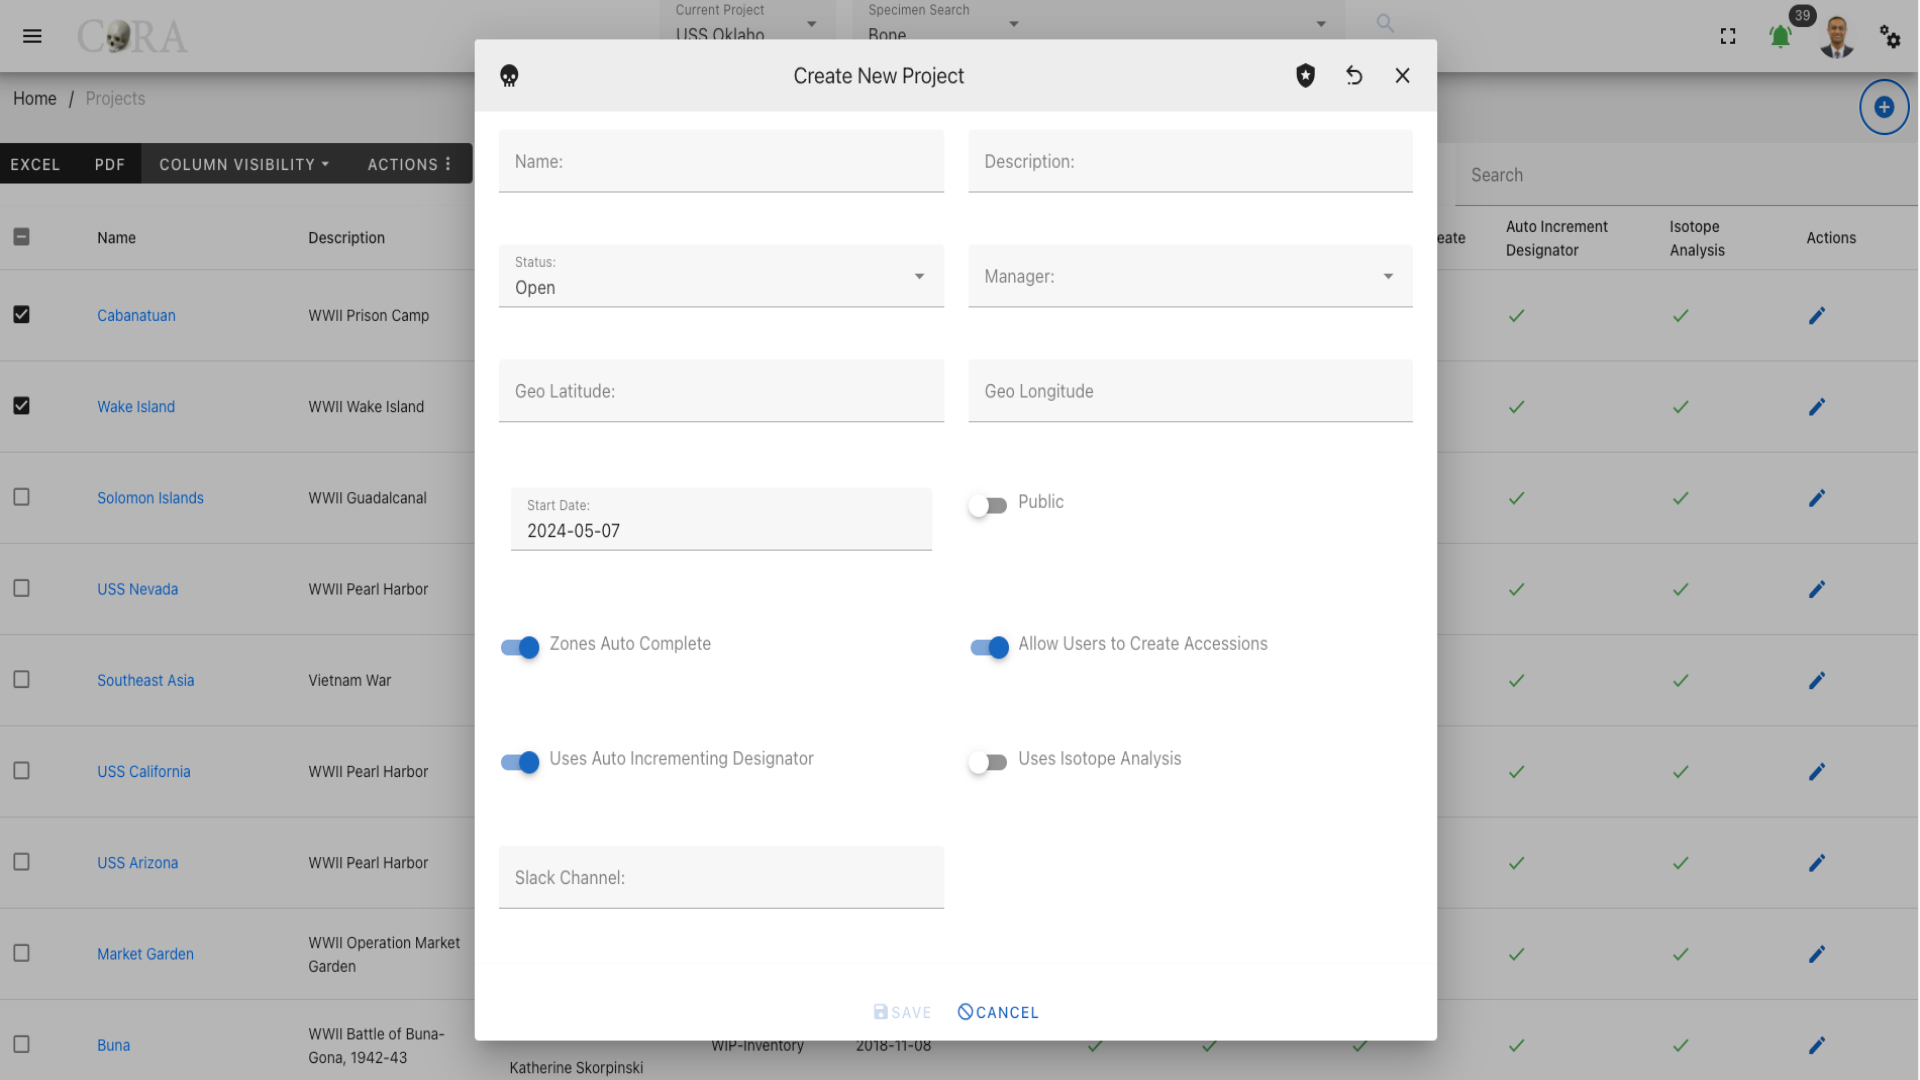
The screen fields are shown below. Fields in bold are required.
| Attributes | Data Type | Size | Validation Rule | Required/Optional |
|---|---|---|---|---|
| Name | String | 255 chars | contains letters and numbers, min:3 and max:255 | Required |
| Description | String | 255 chars | contains letters and numbers | Required |
| Status | Id | valid option via dropdown | Required (Default Open) | |
| Manager | Id | valid option via dropdown | Required | |
| Geo latitude | Decimal | valid lat/long up to 7 decimal precision | Required | |
| Geo Longitude | Decimal | valid lat/long up to 7 decimal precision | Required | |
| Start Date | Date | valid date | Required | |
| Public | Boolean | true/false toggle | Required (Default false) | |
| Zones Auto Complete | Boolean | true/false toggle | Required (Default true) | |
| Allow Users to Create Accessions | Boolean | true/false toggle | Required (Default true) | |
| Uses Auto Incrementing Designator | Boolean | true/false toggle | Required (Default true) | |
| Isotope Analysis | Boolean | true/false toggle | Required (Default false) | |
| Slack Channel | String | 255 chars | valid url | Optional |
Warning
If the project is flagged as Public, your project will be visible to all. This option is rarely used and is only available in case you want to share your project with others not part of your organization.
Edit Project
To edit an existing projects information, simply click on the Name and the edit dialog box will open for editing the existing project information. The following fields are available for update, click "Save" when finished editing, or "Close" to cancel the changes.
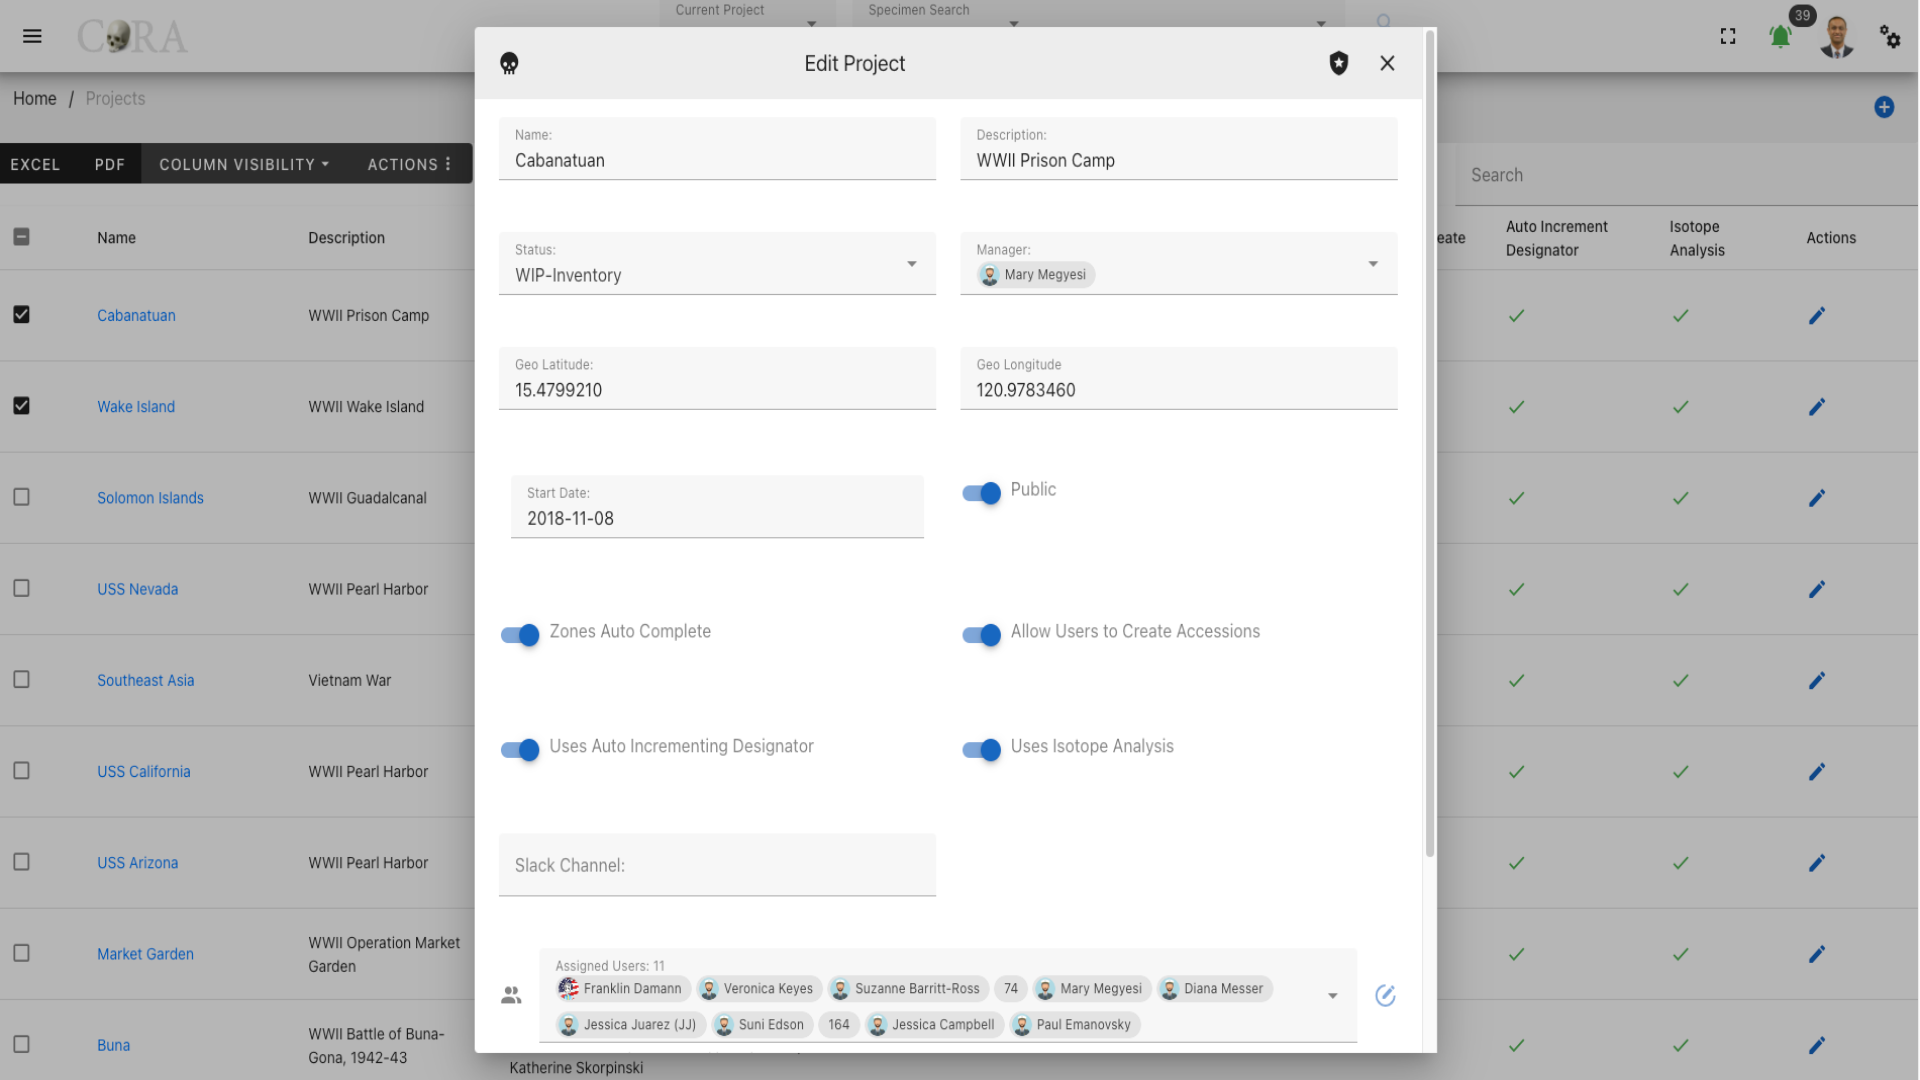
The screen fields are shown below. Fields in bold are required.
| Attributes | Data Type | Size | Validation Rule | Required/Optional |
|---|---|---|---|---|
| Name | String | 255 chars | contains letters and numbers, min:3 and max:255 | Required |
| Description | String | 255 chars | contains letters and numbers | Required |
| Status | Id | valid option via dropdown | Required (Default Open) | |
| Manager | Id | valid option via dropdown | Required | |
| Geo latitude | Decimal | valid lat/long up to 7 decimal precision | Required | |
| Geo Longitude | Decimal | valid lat/long up to 7 decimal precision | Required | |
| Start Date | Date | valid date | Required | |
| Public | Boolean | true/false toggle | Required (Default false) | |
| Slack Channel | String | 255 chars | valid url | Optional |
| Zones Auto Complete | Boolean | true/false toggle | Required (Default true) | |
| Allow Users to Create Accessions | Boolean | true/false toggle | Required (Default true) | |
| Uses Auto Incrementing Designator | Boolean | true/false toggle | Required (Default true) | |
| Isotope Analysis | Boolean | true/false toggle | Required (Default false) | |
| Latest MCC Date* | Date | valid date | Optional | |
| Assigned Users | Id | valid options via dropdown | Required (at least one) | |
| Assigned Instruments | Id | valid options via dropdown | Optional |
Batch Edit Project
The Project Management screen allows for batch editing of multiple project records. This can be useful to change project status,to make a public, etc. To batch edit, select multiple projects by clicking on the boxes to the left of their names, this will show the "Actions" menu in the top-left menu, select the Actions > Batch Edit menu. this will open a batch edit dropbox.
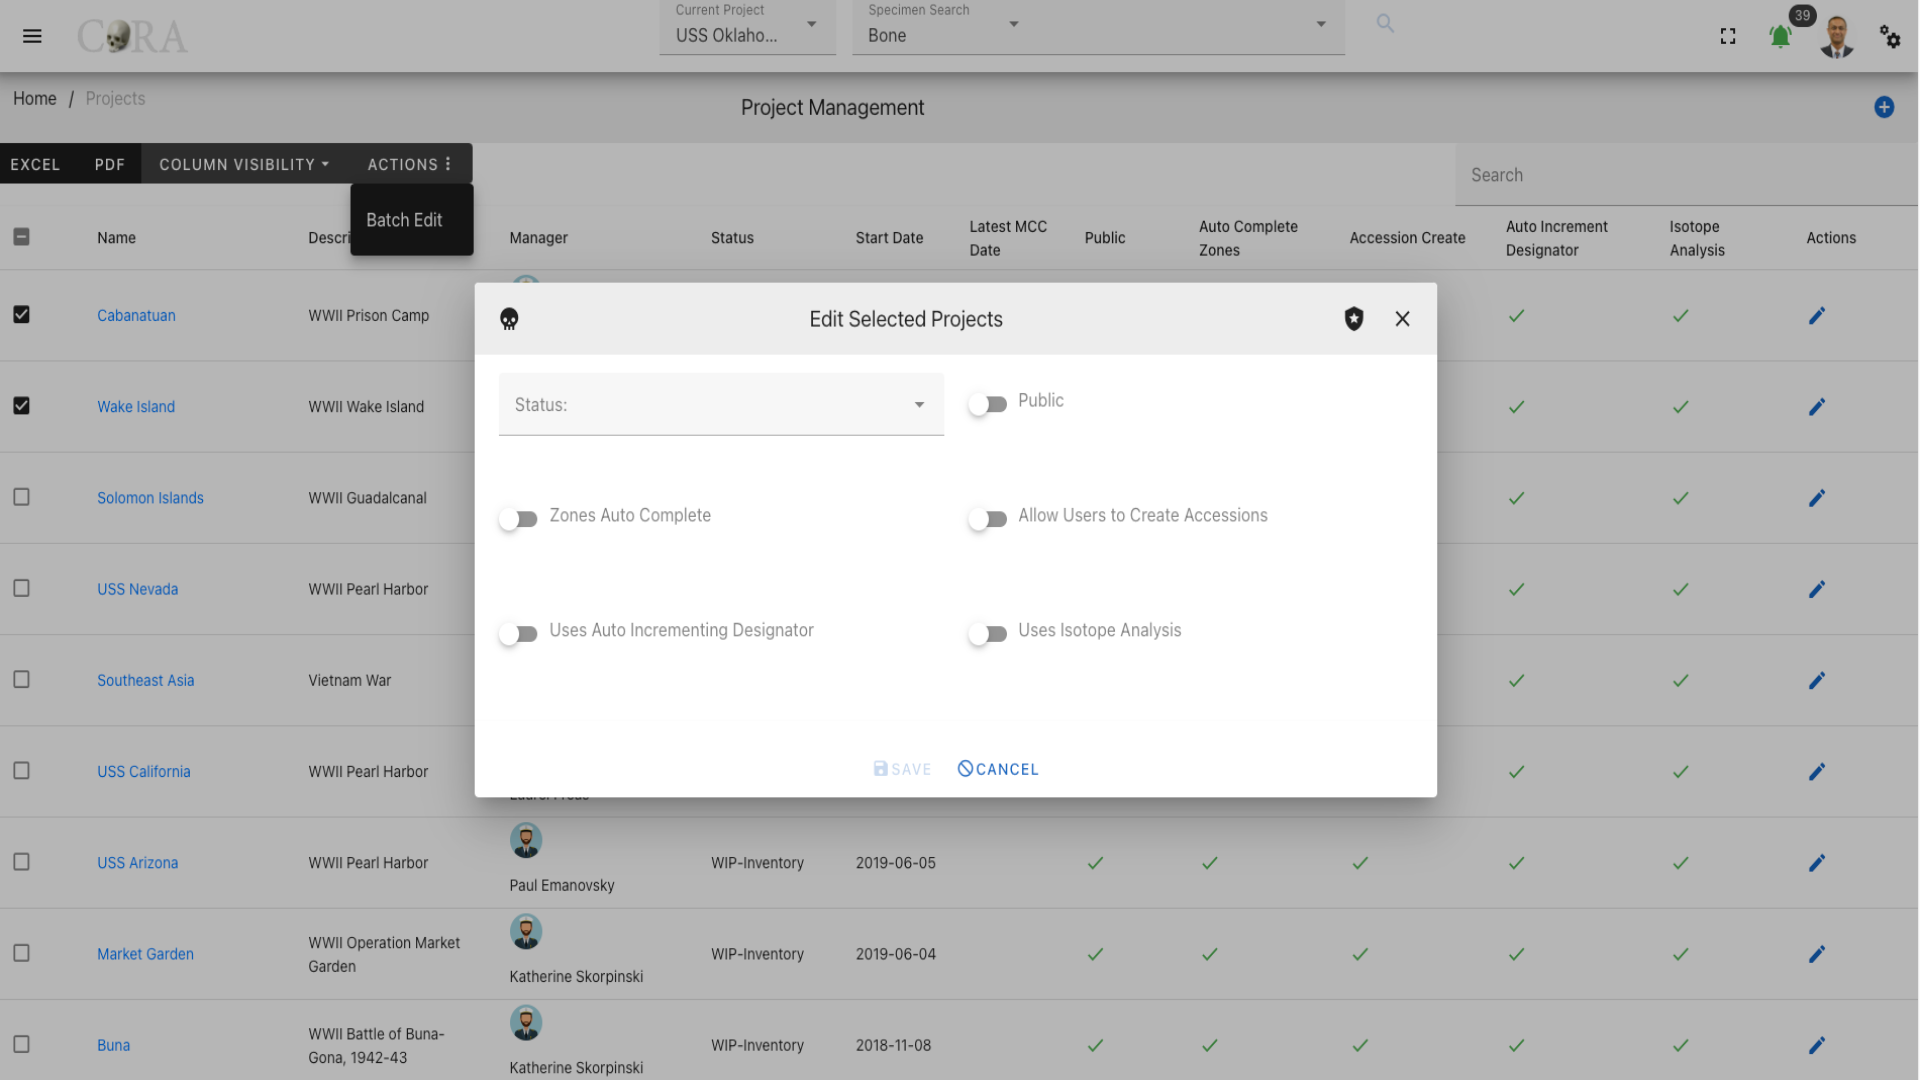
The screen fields for batch edit are shown below.
| Attributes | Data Type | Size | Validation Rule |
|---|---|---|---|
| Status | String | 32 chars | contains letters |
| Public | Boolean | true/false toggle | |
| Zones Auto Complete | Boolean | true/false toggle | |
| Allow Users to Create Accessions | Boolean | true/false toggle | |
| Uses Auto Incrementing Designator | Boolean | true/false toggle | |
| Isotope Analysis | Boolean | true/false toggle |
Accession Management
The Org Administrator has the ability to browse accession list, create and manage the accessions along with the ability to assign accessions to projects. The accession management screen provides a data table of all the accessions in the current project with information such as Project Name, Key, Number, Provenance 1, and Provenance 2. The accessions list will be initially sorted on the project name. The data table also has an "Actions" column with buttons to edit the accession.
Tip
- You can edit the accession by clicking the accession key link.
- The column visibility will allow you to add more columns/details to the data table list.
- The Search box can be used to search any details in the data table list.
Create Accession
On the accession management screen, click the Create button/icon to create a new accession. Navigation to the accession management screen is shown below.
The Create button opens a dialog box to prompt to create a new accession. Enter the information for the new accession record, the "Project" field is defaulted to current project. Once all information is entered, click "Save", and a success message Accession successfully added” will appear at the top.
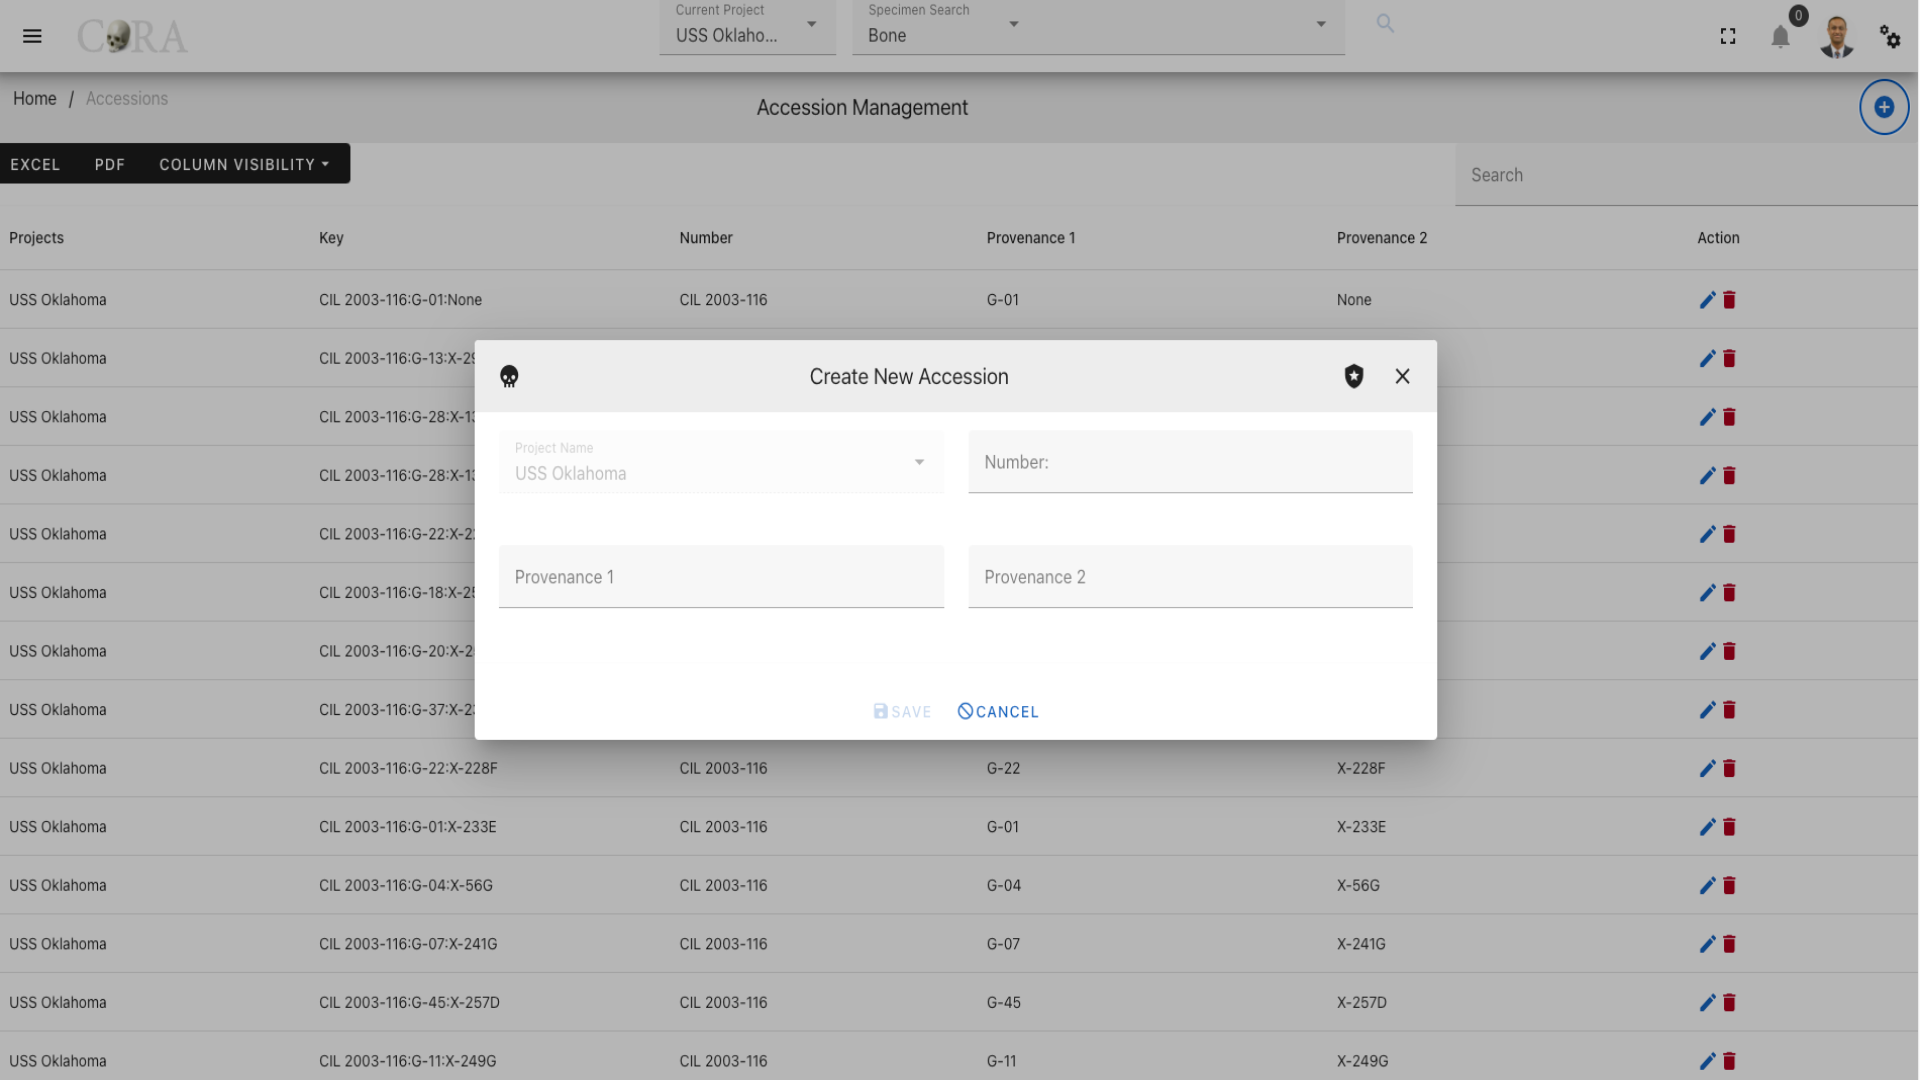
The screen fields are shown below. Fields in bold are required.
| Attributes | Data Type | Size | Validation Rule | Required/Optional |
|---|---|---|---|---|
| Project | Id | valid option via dropdown | Required (Default current project) | |
| Number | String | 32 chars | contains letters and numbers | Required |
| Provenance1 | String | 32 chars | contains letters and numbers | Optional |
| Provenance2 | String | 32 chars | contains letters and numbers | Optional |
Edit Accession
To edit an existing accession information, simply click on the Key and the edit dialog box will open for editing the existing accession information. The following fields are available for update, click "Save" when finished editing, or "Close" to cancel the changes.
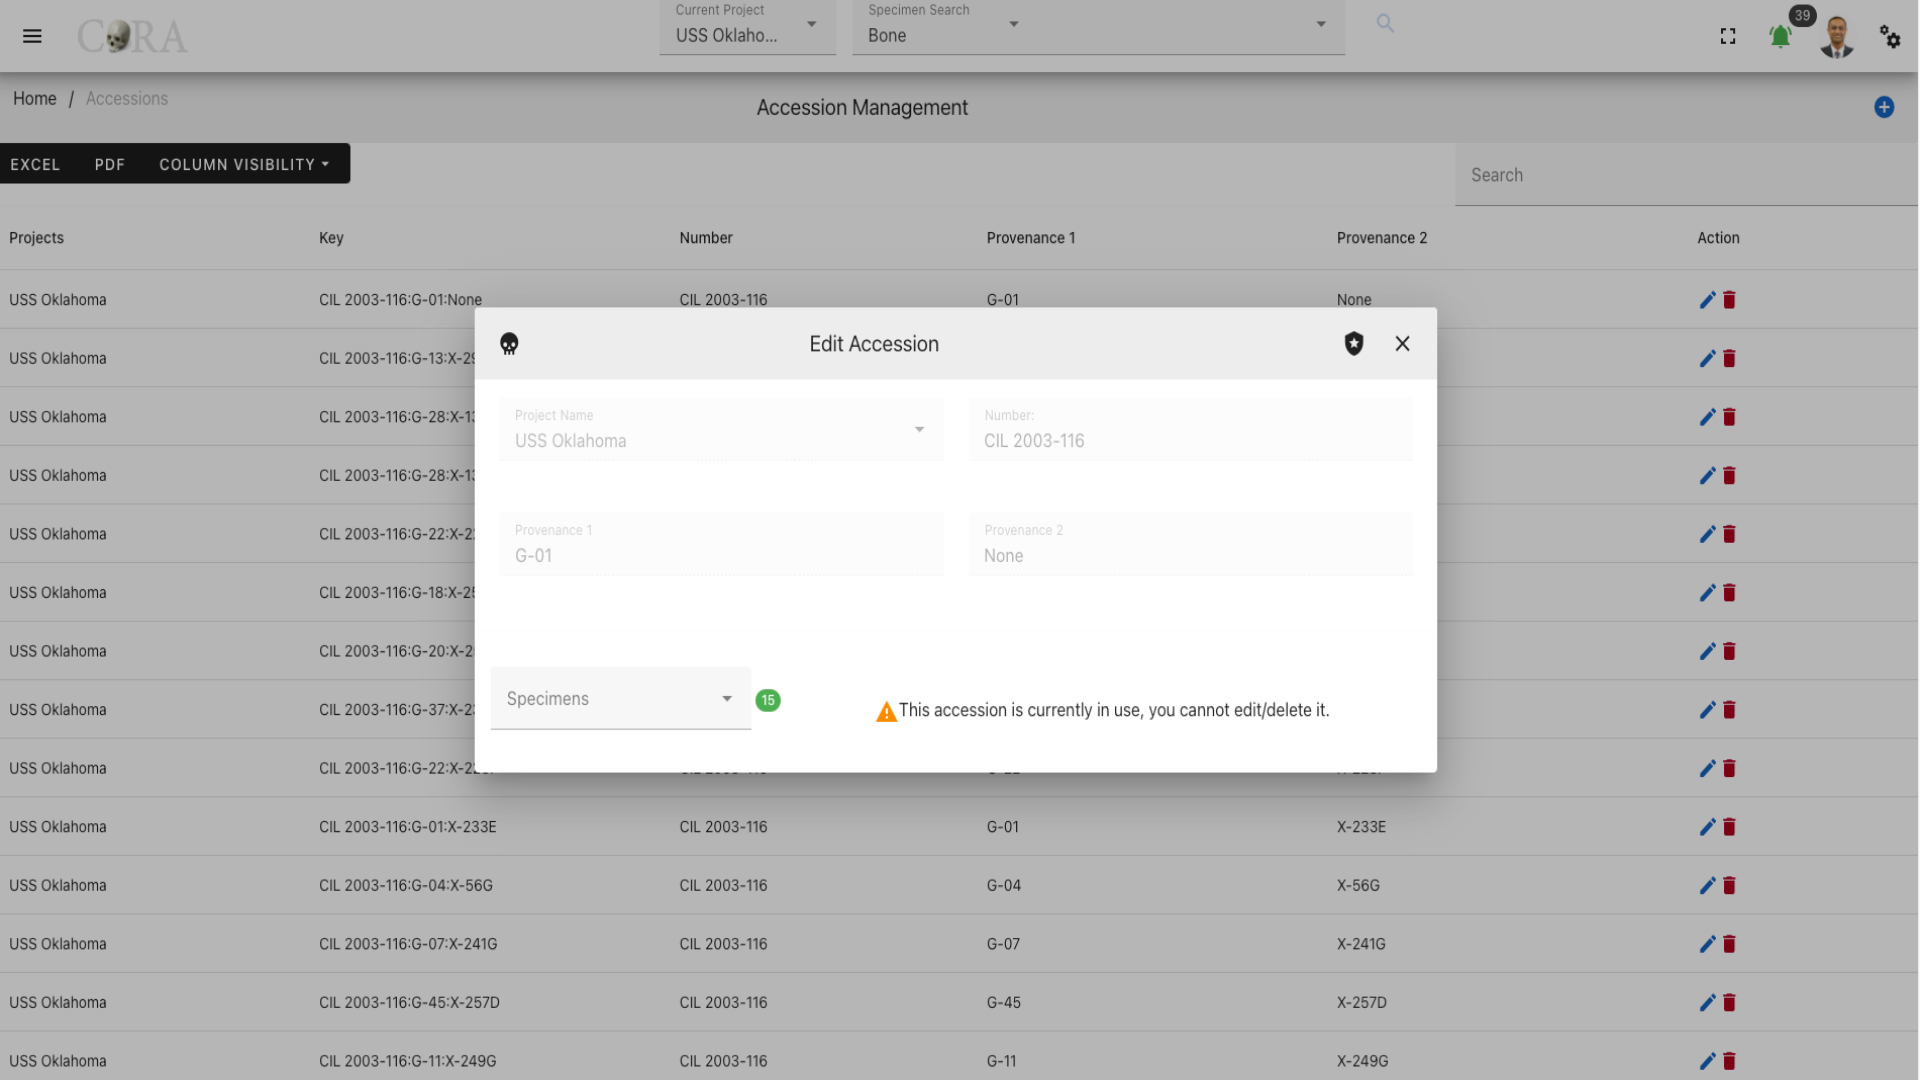
The screen fields are shown below. Fields in bold are required.
| Attributes | Data Type | Size | Validation Rule | Required/Optional |
|---|---|---|---|---|
| Project | Id | valid option via dropdown | Required (Default current project) | |
| Number | String | 32 chars | contains letters and numbers | Required |
| Provenance1 | String | 32 chars | contains letters and numbers | Optional |
| Provenance2 | String | 32 chars | contains letters and numbers | Optional |
| Specimens | String | 32 chars | contains letters and numbers |
Note
If there are specimens under an accession, then the specimens and their count are displayed along with a message "This accession is currently in use, you cannot edit/delete it."
Tip
If you want to edit or delete an accession please make sure that all specimens under that accession have first been reassigned and another accession and the current count is 0 before attempting to edit or delete an accession.
Instrument Management
The Org Administrator has the ability to browse instrument list, create and manage the instruments along with the ability to assign instruments to users. The instrument management screen provides a data table of all the instruments in the current organization with information such as Code, Module, Active Status, Category, Reference and Assigned Users. The instruments list will be initially sorted on the code and module. The data table also has an "Actions" column with buttons to edit the instrument.
Tip
- You can edit the instrument by clicking the code link.
- The column visibility will allow you to add more columns/details to the data table list.
- The Search box can be used to search any details in the data table list.
Create Instrument
On the instrument management screen, click the Create button/icon to create a new instrument. Navigation to the instrument management screen is shown below.
The Create button opens a dialog box to prompt to create a new instrument. Enter the information for the new instrument record, the "Active Status" field is defaulted to true. Once all information is entered, click "Save", and a success message Instrument successfully added” will appear at the top.
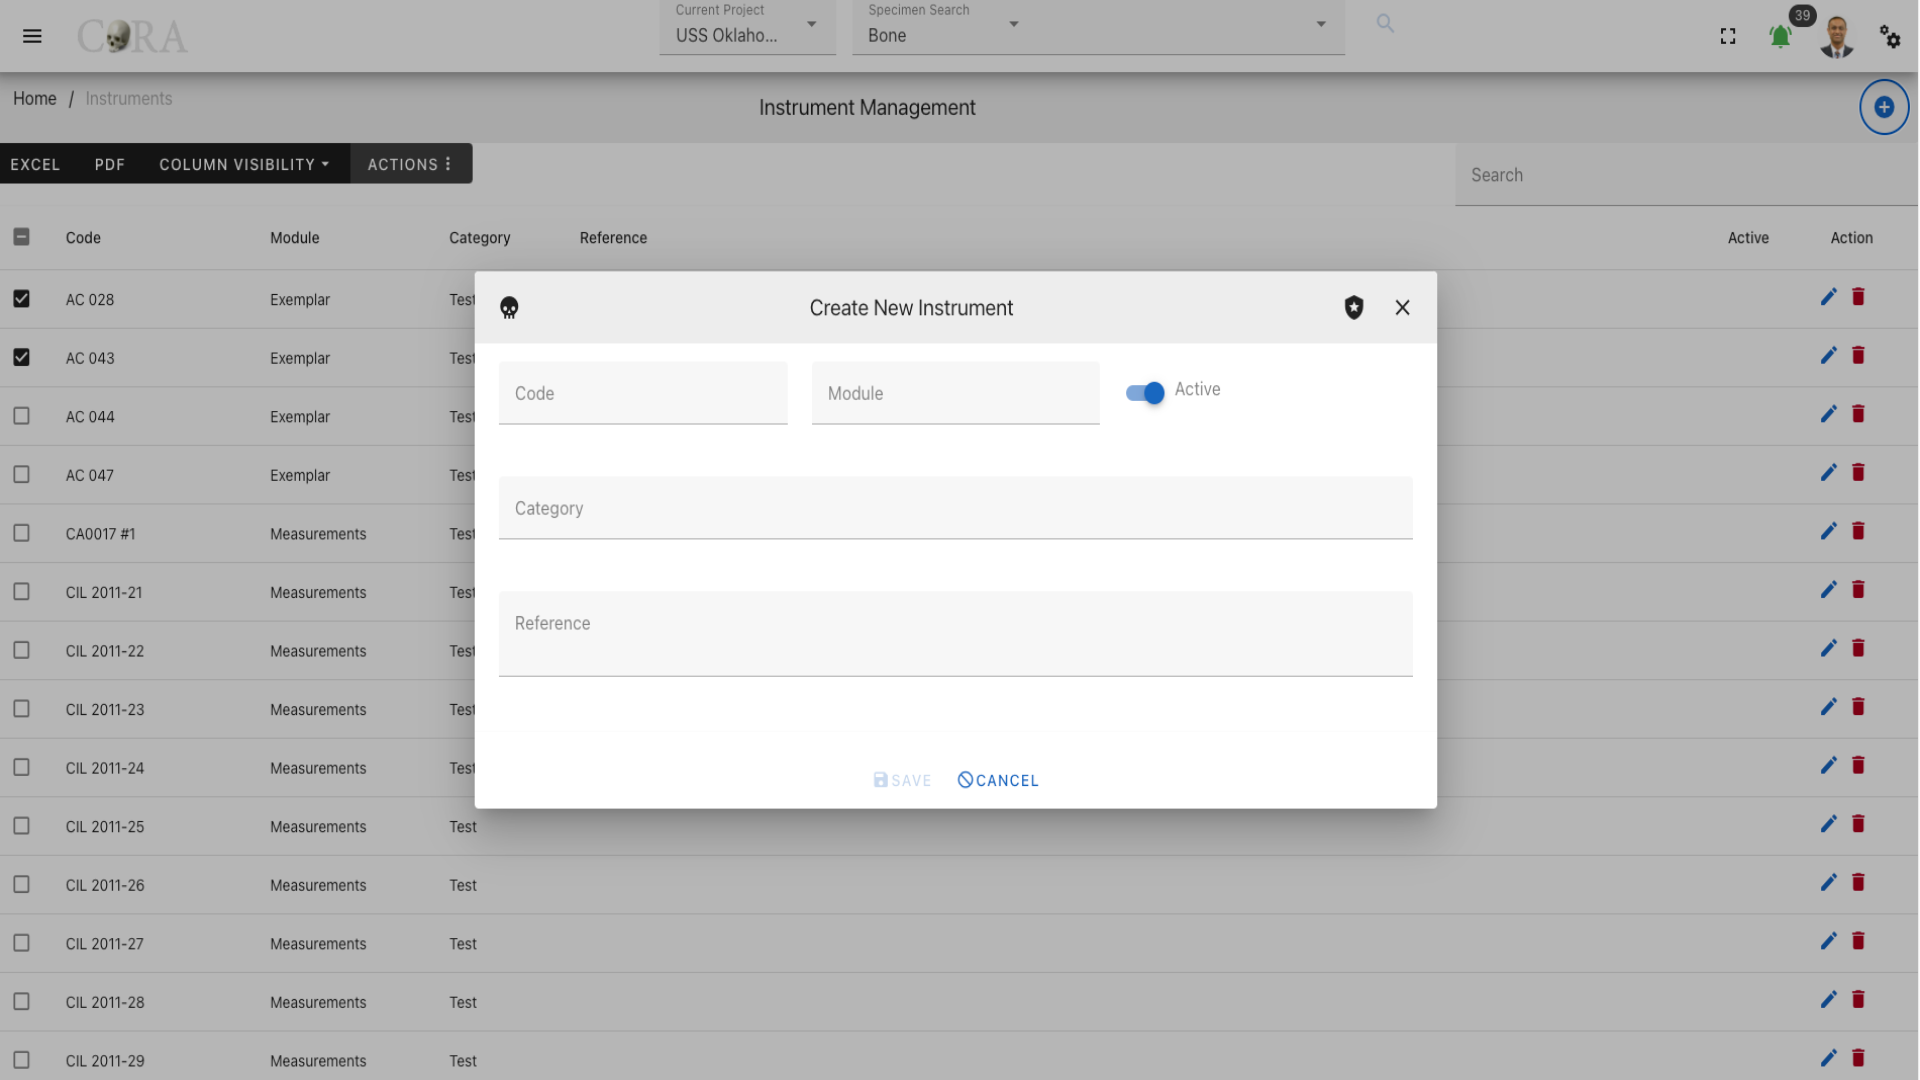
The screen fields are shown below. Fields in bold are required.
| Attributes | Data Type | Size | Validation Rule | Required/Optional |
|---|---|---|---|---|
| Code | String | 16 chars | contains letters and numbers | Required |
| Module | String | 32 chars | contains letters and numbers | Required |
| Active Status | Boolean | true/false toggle | Required (Default true) | |
| Category | String | 255 chars | contains letters and numbers | Required |
| Reference | String | 255 chars | contains alphanumeric values | Optional |
Edit Instrument
To edit an existing instrument information, simply click on the Code and the edit dialog box will open for editing the existing instrument information. The following fields are available for update, click "Save" when finished editing, or "Close" to cancel the changes.
The screen fields are shown below. Fields in bold are required.
| Attributes | Data Type | Size | Validation Rule | Required/Optional |
|---|---|---|---|---|
| Code | String | 16 chars | contains letters and numbers | Required |
| Module | String | 32 chars | contains letters and numbers | Required |
| Active Status | Boolean | true/false toggle | Required (Default true) | |
| Category | String | 255 chars | contains letters and numbers | Required |
| Reference | String | 255 chars | contains alphanumeric values | Optional |
| Assigned Users | Id | valid options via dropdown | Optional |
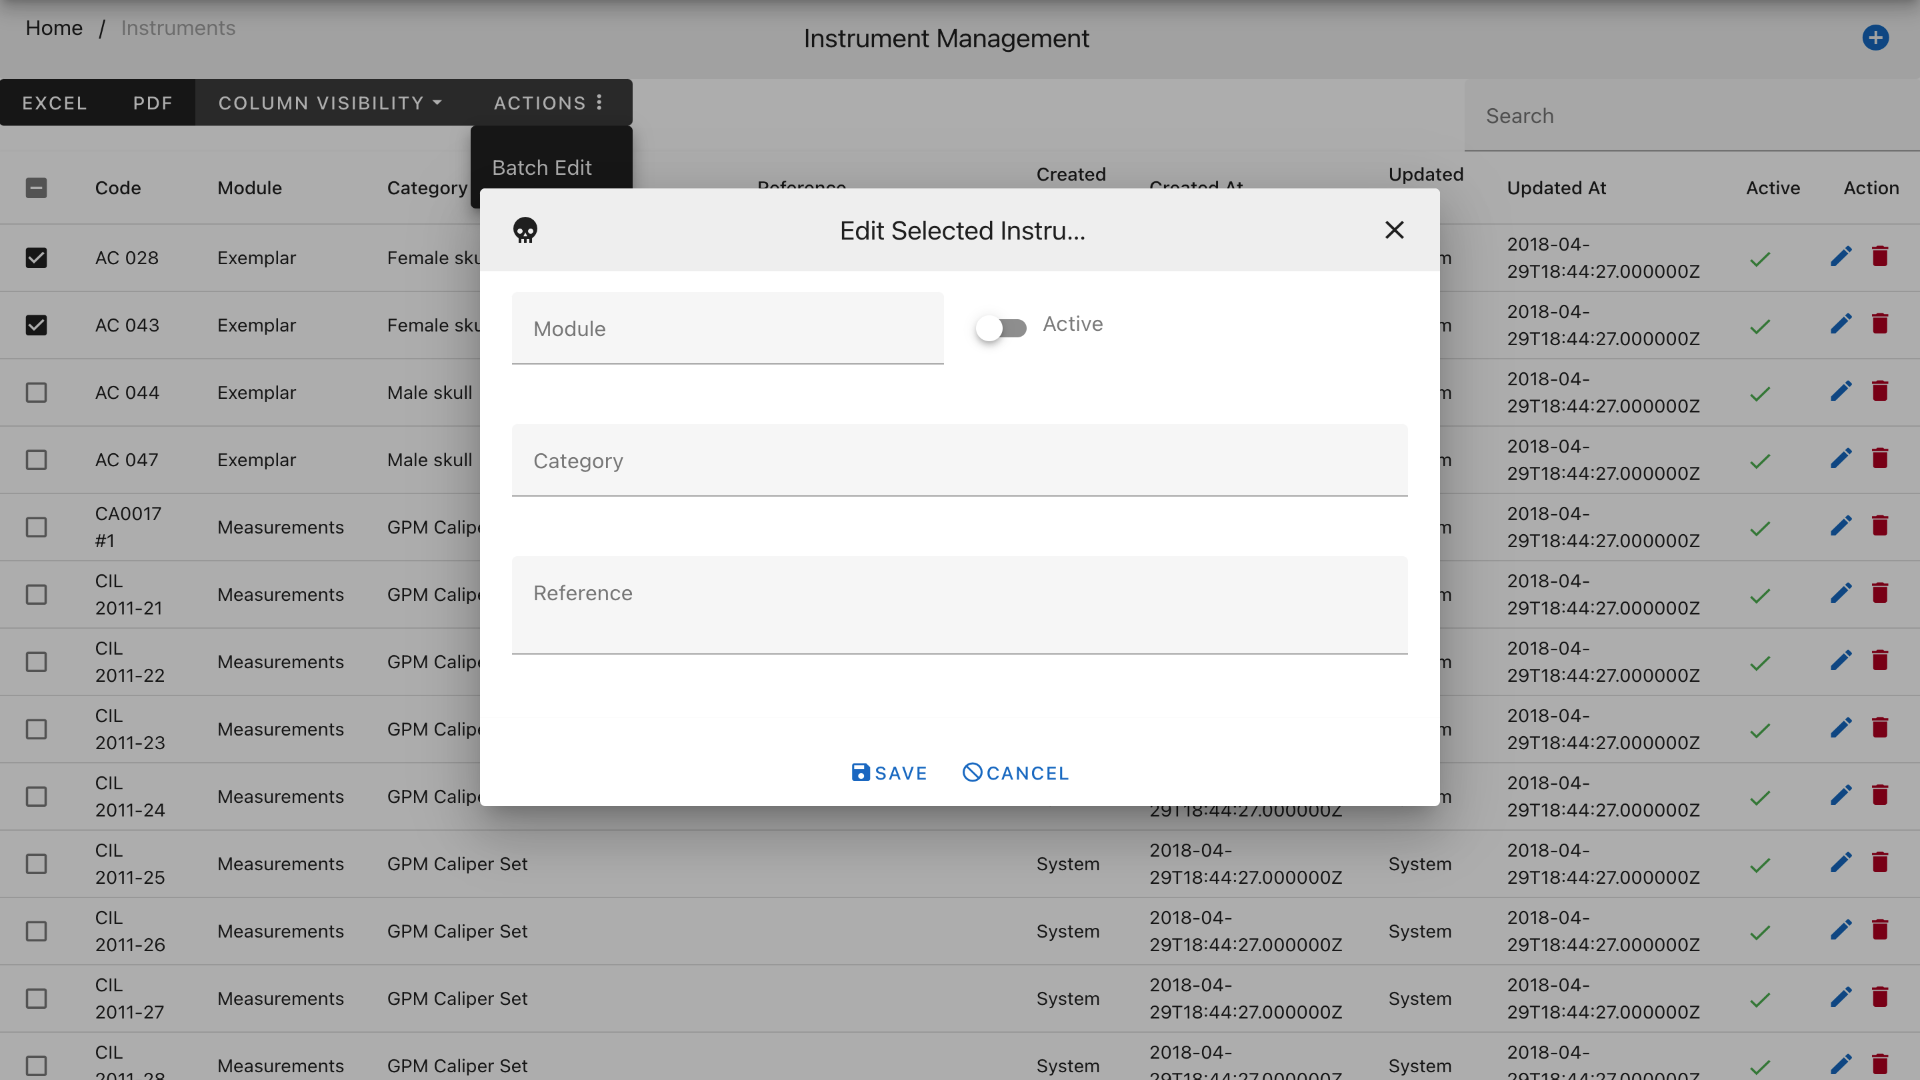
Batch Edit Instrument
The Instrument Management screen allows for batch editing of multiple instruments. To batch edit, select multiple instruments by clicking on the checkboxes to the left of their names, this will show the "Actions" menu in the top-left menu, select the Actions > Batch Edit menu. this will open a batch edit dropbox.
![Click on Action]site-navigation/media/instrument-management-batch.png)
The screen fields for batch edit are shown below.
| Attributes | Data Type | Size | Validation Rule |
|---|---|---|---|
| Module | String | 32 chars | contains letters and numbers |
| Active Status | Boolean | true/false toggle | |
| Category | String | 255 chars | contains letters and numbers |
| Reference | String | 255 chars | contains alphanumeric values |
Haplogroup Management
The Org Administrator has the ability to browse haplogroup list, create and manage the haplogroups. The haplogroup management screen provides a data table of all the haplogroups in the current organization with information such as Type, Letter, Subgroup, and Ancestry. The haplogroups list will be initially sorted on the type and letter. The data table also has an "Actions" column with buttons to edit the haplogroup.
Tip
- You can edit the haplogroup by clicking the letter link.
- The column visibility will allow you to add more columns/details to the data table list.
- The Search box can be used to search any details in the data table list.
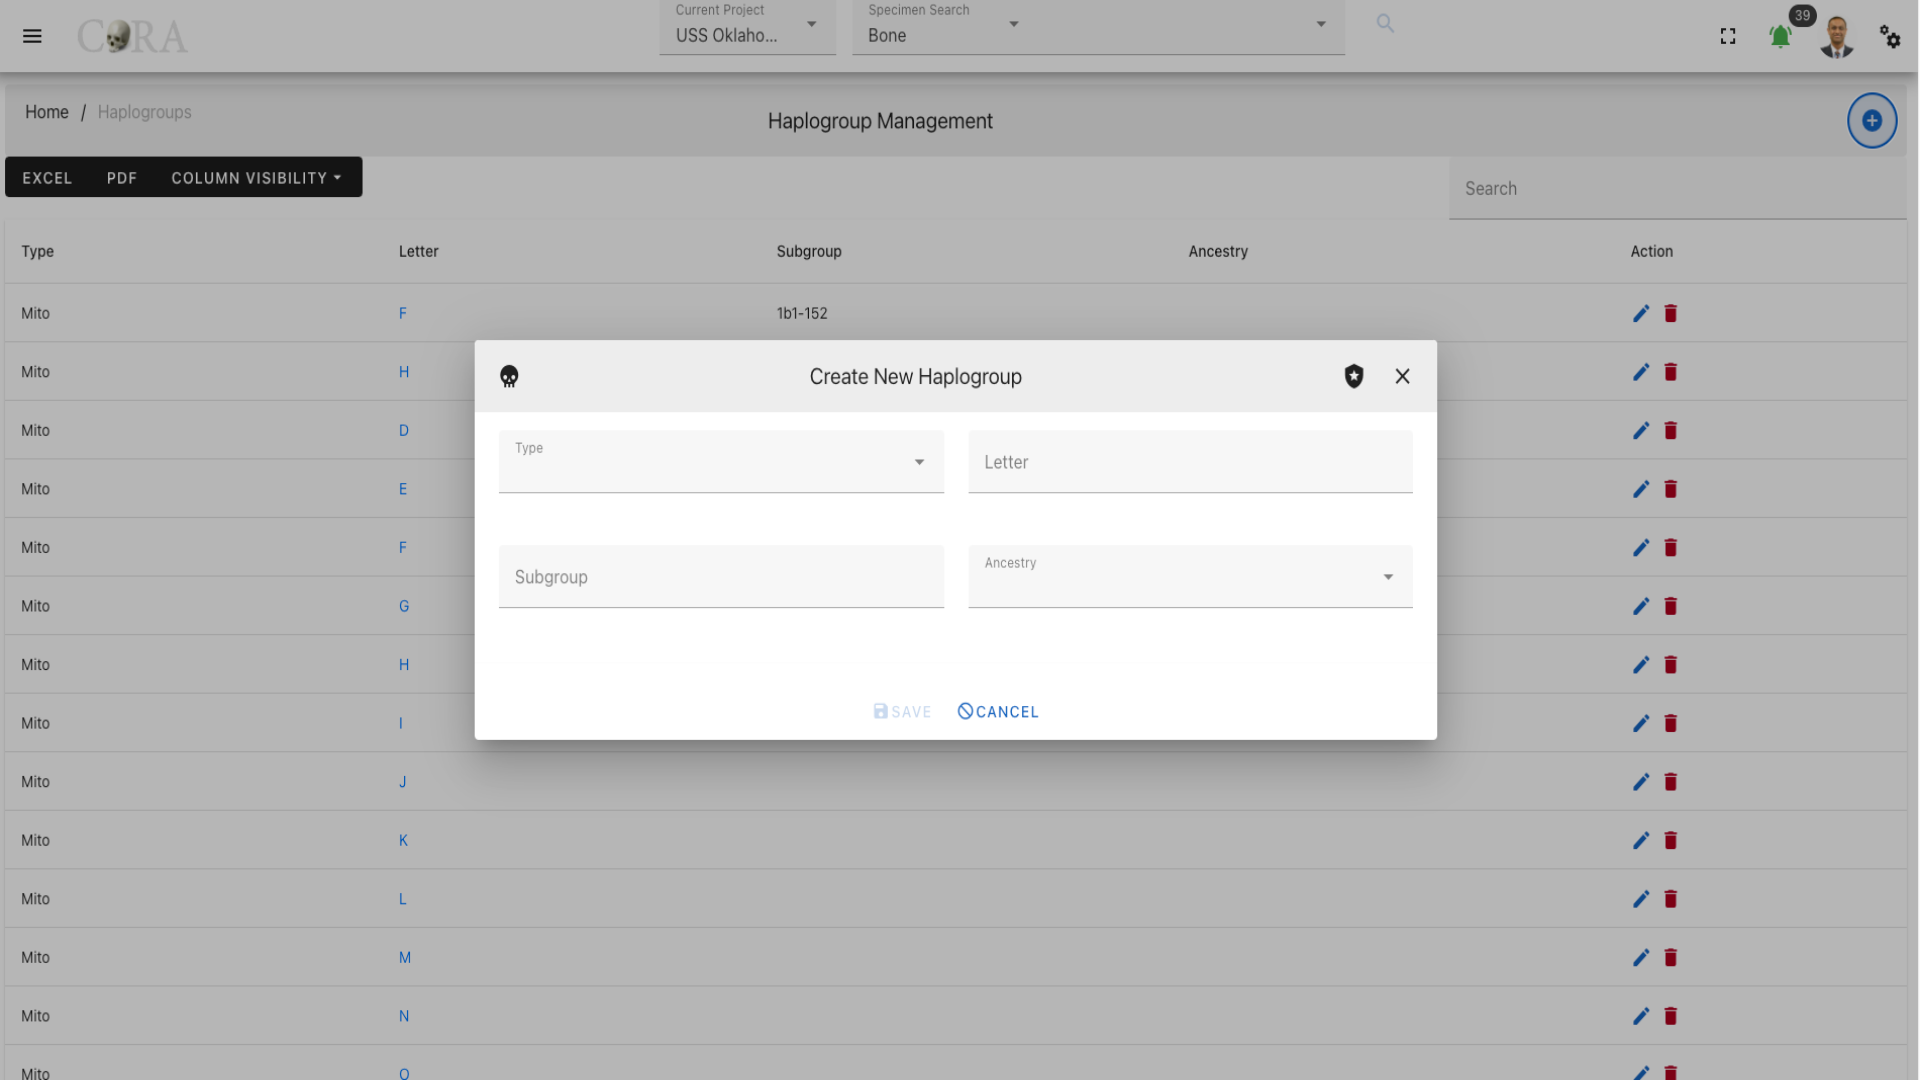
Create Haplogroup
On the haplogroup management screen, click the Create button/icon to create a new haplogroup. Navigation to the haplogroup management screen is shown below.
The Create button opens a dialog box to prompt to create a new haplogroup. Enter the information for the new haplogroup record. Once all information is entered, click "Save", and a success message Haplogroup successfully added” will appear at the top.
The screen fields are shown below. Fields in bold are required.
| Attributes | Data Type | Size | Validation Rule | Required/Optional |
|---|---|---|---|---|
| Type | String | 32 chars | valid options via dropdown (Mito, YStr) | Required |
| Letter | String | 1 char | contains letter, one char from A-Z | Required |
| Subgroup | String | 32 chars | contains alphanumeric values | Optional |
| Ancestry | String | 32 chars | valid options via dropdown | Optional |
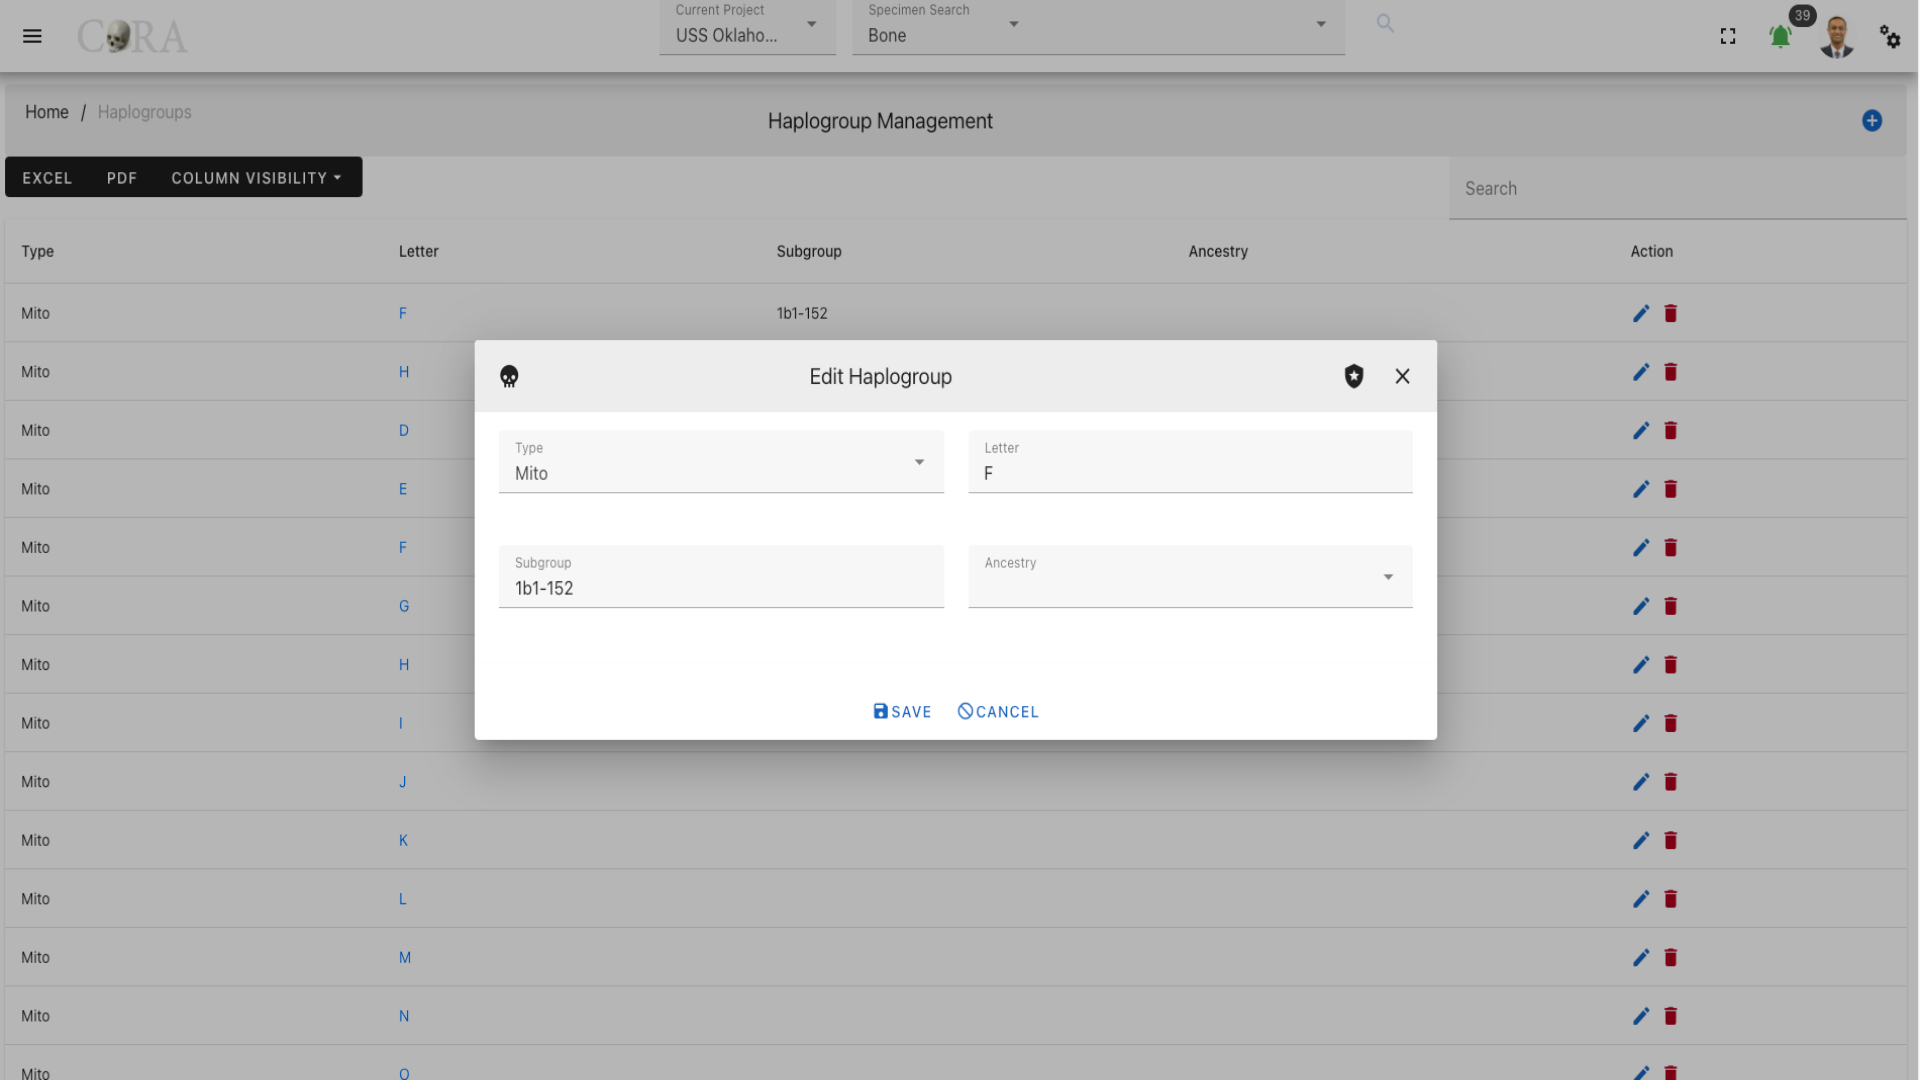
Edit Haplogroup
To edit an existing haplogroup information, simply click on the Letter and the edit dialog box will open for editing the existing haplogroup information. The following fields are available for update, click "Save" when finished editing, or "Close" to cancel the changes.
The screen fields are shown below. Fields in bold are required.
| Attributes | Data Type | Size | Validation Rule | Required/Optional |
|---|---|---|---|---|
| Type | String | 32 chars | valid options via dropdown (Mito, YStr) | Required |
| Letter | String | 1 char | contains letter, one char from A-Z | Required |
| Subgroup | String | 32 chars | contains alphanumeric values | Optional |
| Ancestry | String | 32 chars | valid options via dropdown | Optional |
Tag Management
The Org Administrator has the ability to browse tags list, create and manage the tags along with the ability to assign tags to projects. The tags management screen provides a data table of all the tags in the current organization with information such as Name, Description, Category, Type, Color and Icon. The tags list will be initially sorted on the name. The data table also has an "Actions" column with buttons to edit the tag.
Tip
- You can edit the tag by clicking the name link.
- The column visibility will allow you to add more columns/details to the data table list.
- The Search box can be used to search any details in the data table list.
Create Tag
On the tag management screen, click the Create button/icon to create a new tag. Navigation to the tag management screen is shown below.
The Create button opens a dialog box to prompt to create a new tag. Enter the information for the new tag record. Once all information is entered, click "Save", and a success message Tag successfully added” will appear at the top.
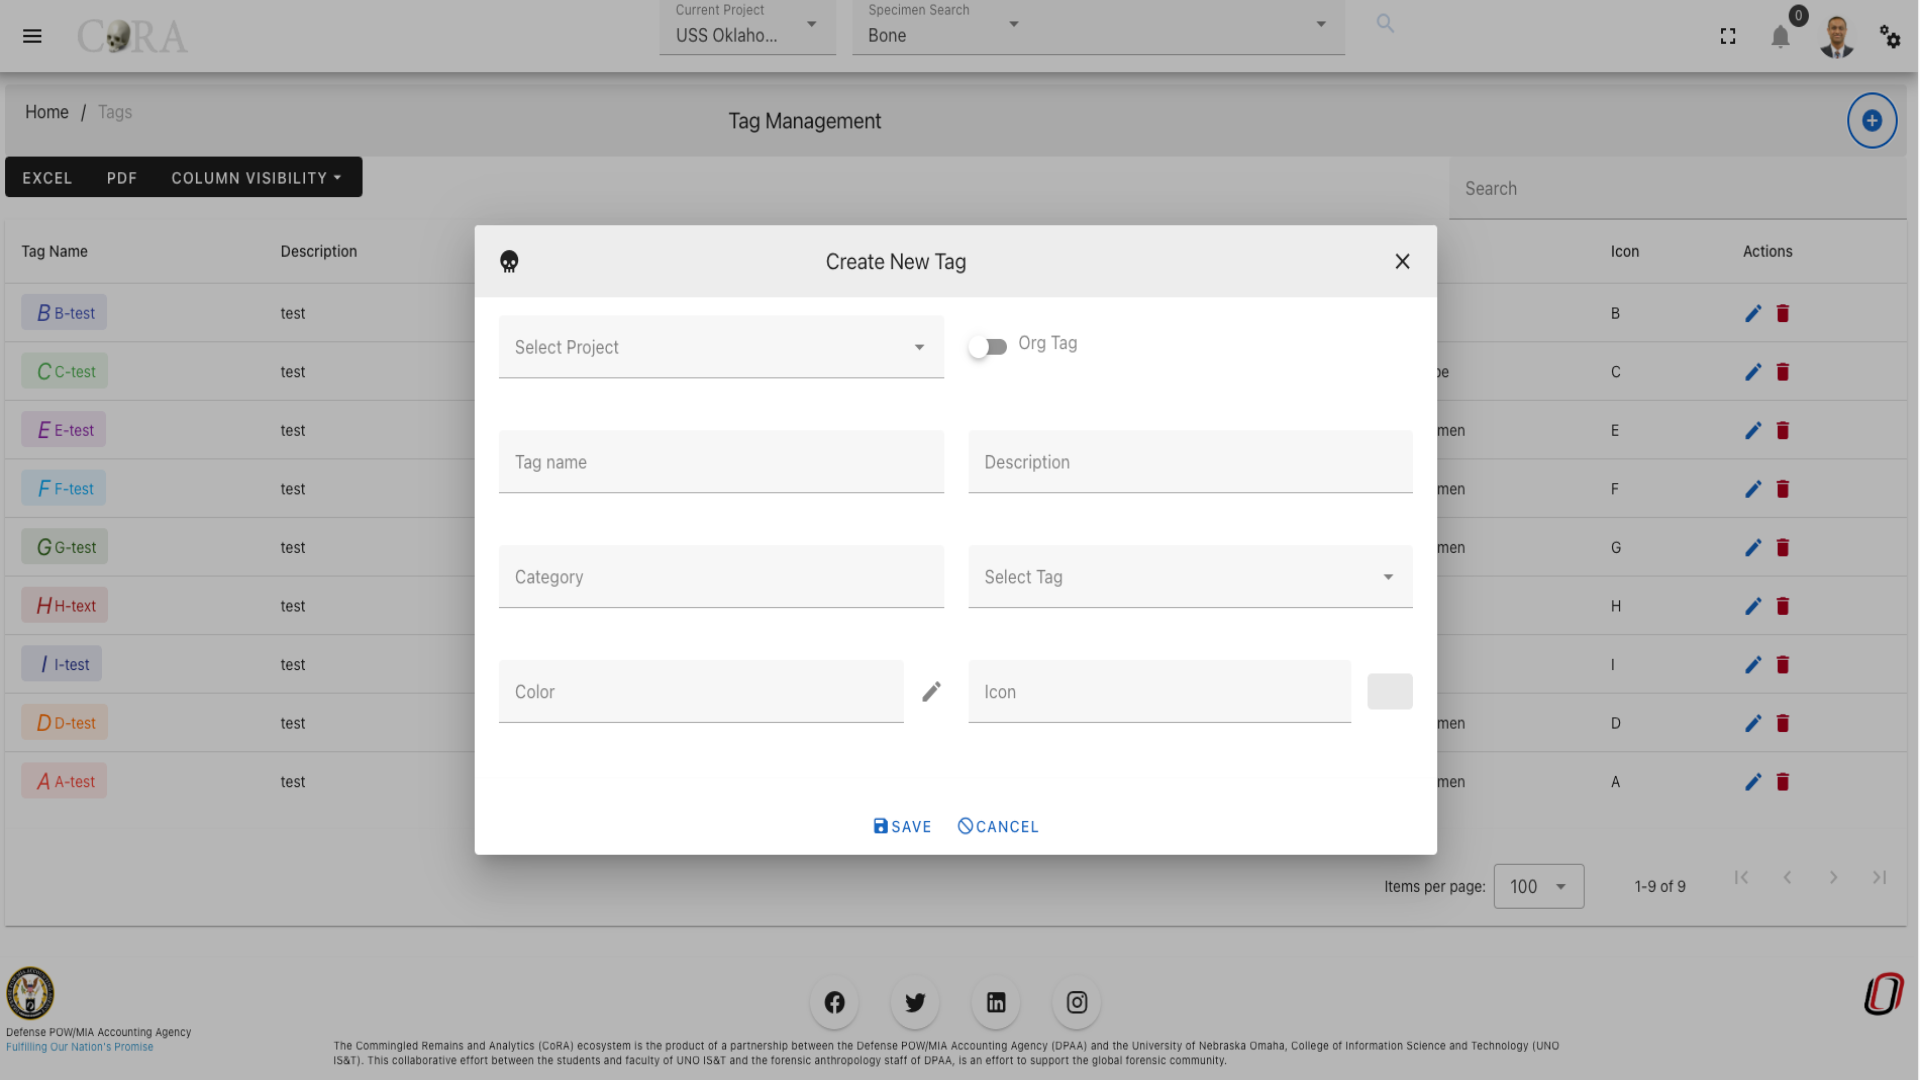
The screen fields are shown below. Fields in bold are required.
| Attributes | Data Type | Size | Validation Rule | Required/Optional |
|---|---|---|---|---|
| Project | Id | valid option via dropdown | Required (Default current project) | |
| Tag Name | String | 32 chars | contains letters and numbers | Required |
| Description | String | 255 chars | contains alphanumeric | Required |
| Category | String | 32 chars | contains letters and numbers | Optional |
| Type | String | 32 chars | contains letters and numbers | Optional |
| Color | String | 32 chars | color hex number | Optional |
| Icon | String | 32 chars | mdi icon (see material design icon codes) | Optional |
Edit Tag
To edit an existing tag information, simply click on the Name and the edit dialog box will open for editing the existing tag information. The following fields are available for update, click "Save" when finished editing, or "Close" to cancel the changes.
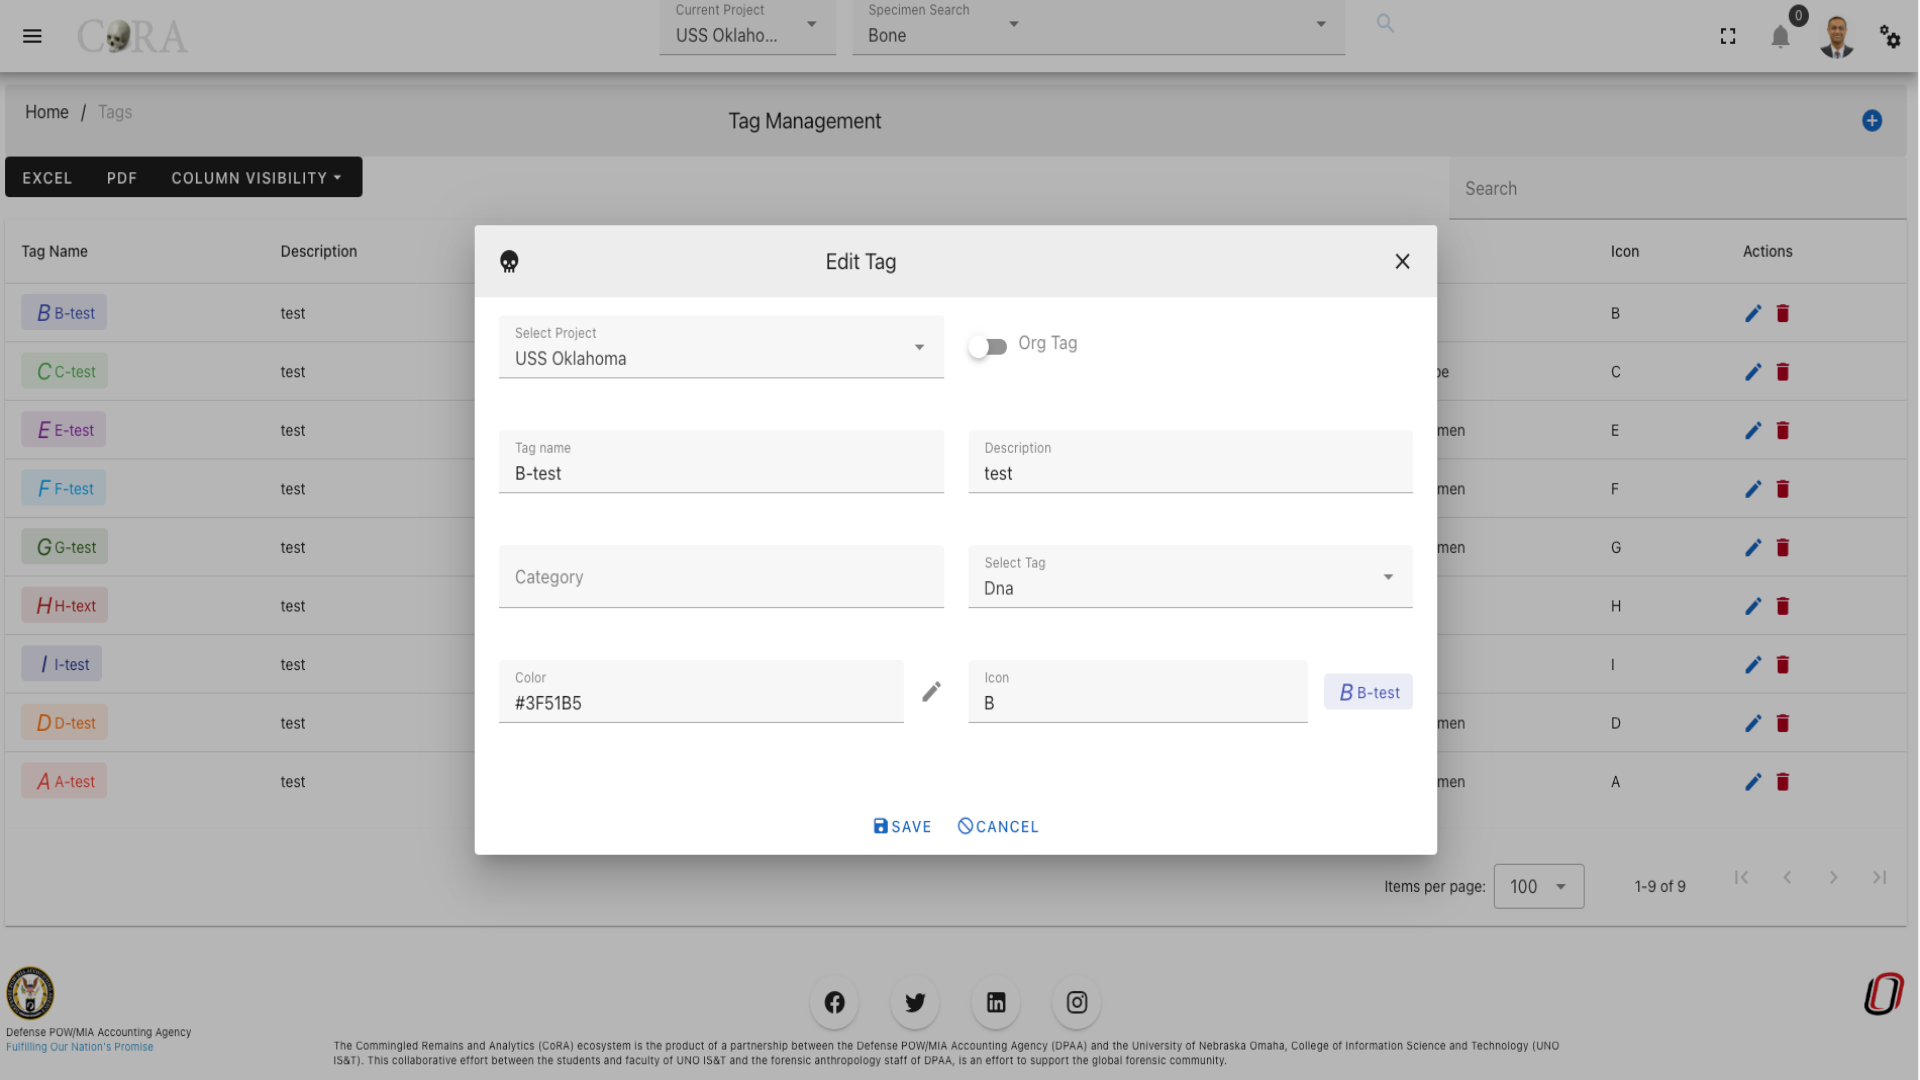
The screen fields are shown below. Fields in bold are required.
| Attributes | Data Type | Size | Validation Rule | Required/Optional |
|---|---|---|---|---|
| Project | Id | valid option via dropdown | Required (Default current project) | |
| Tag Name | String | 32 chars | contains letters and numbers | Required |
| Description | String | 255 chars | contains alphanumeric | Required |
| Category | String | 32 chars | contains letters and numbers | Optional |
| Type | String | 32 chars | contains letters and numbers | Optional |
| Color | String | 32 chars | color hex number | Optional |
| Icon | String | 32 chars | mdi icon (see material design icon codes) | Optional |
Org Profile
CoRA has a very powerful and flexible design which allows every organization to customize how they would like to use CoRA for their projects. The Org Profile screen is where you manage these settings. The information here is organized within tabs, each of these tabs is discussed below.

About

In the About tab the org administrator can edit the Organization Name, Description, Address, Website URL, Phone, Fax, Contact Name, Contact Email, GeoLatitude and GeoLongitude
General
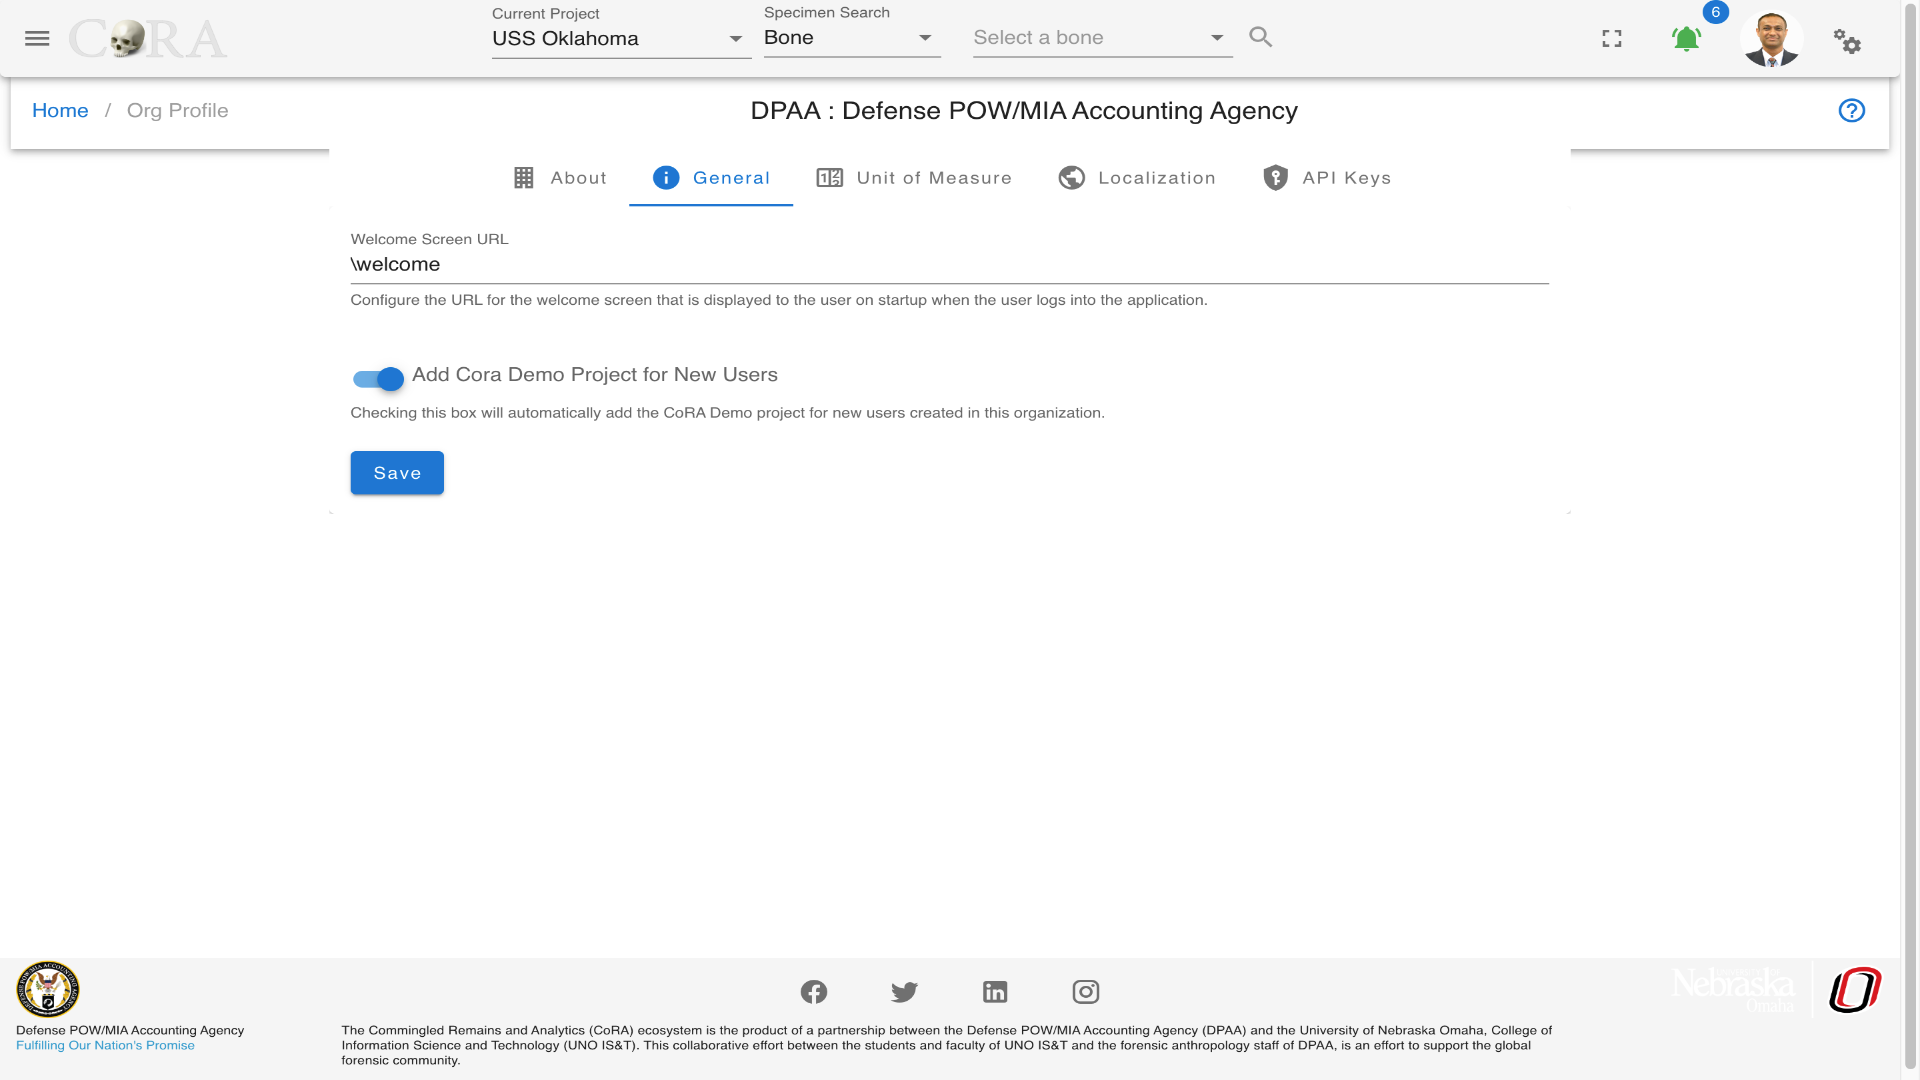
In the General tab the org administrator can configure the URL for the welcome screen that is displayed to the user on startup when the user logs into the application and turn on a switch to automatically add the CoRA Demo project for new users created in their organization.
Unit of Measure
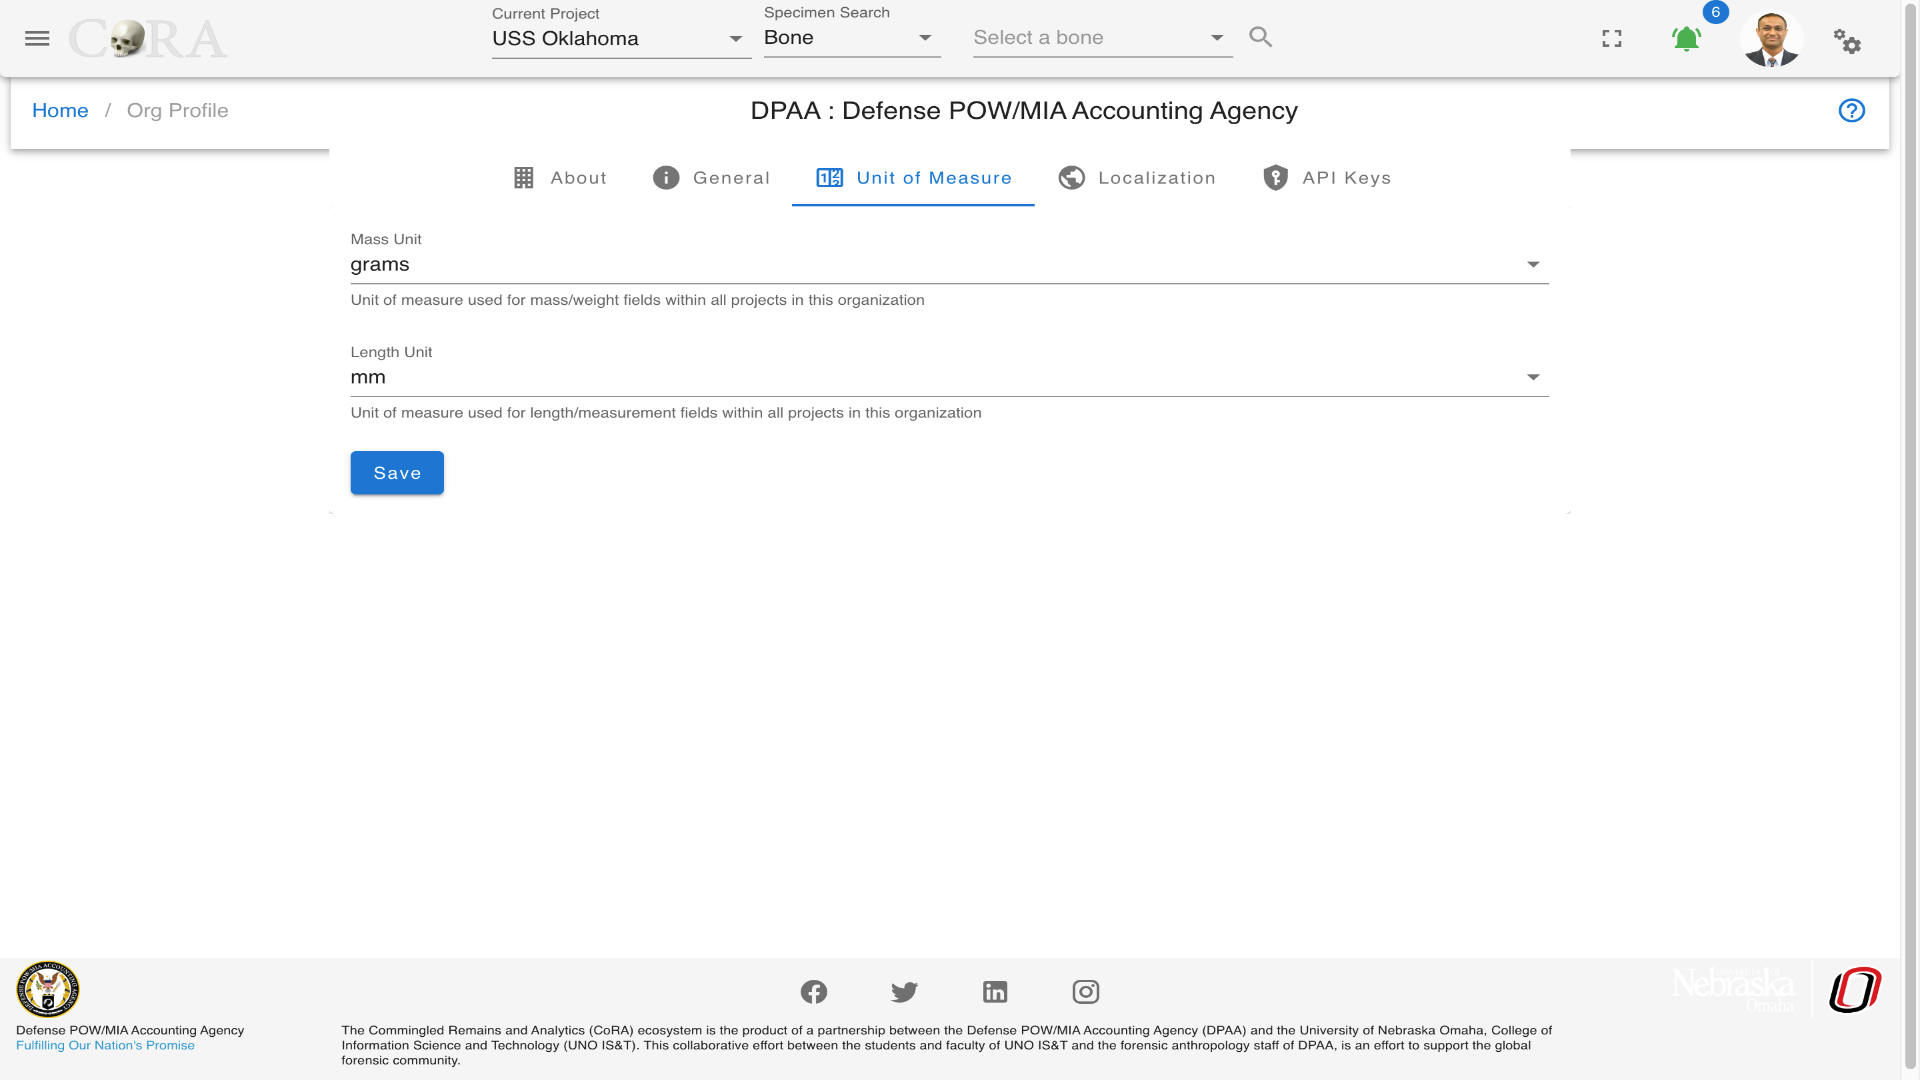
In the Unit of Measure tab the org administrator can configure the unit of measure used for mass/weight and length/measurement fields within all projects in their organization.
- mass/weight, valid values are grams and ounces
- length/measurement, valid values are mm, cm and inches
Localization
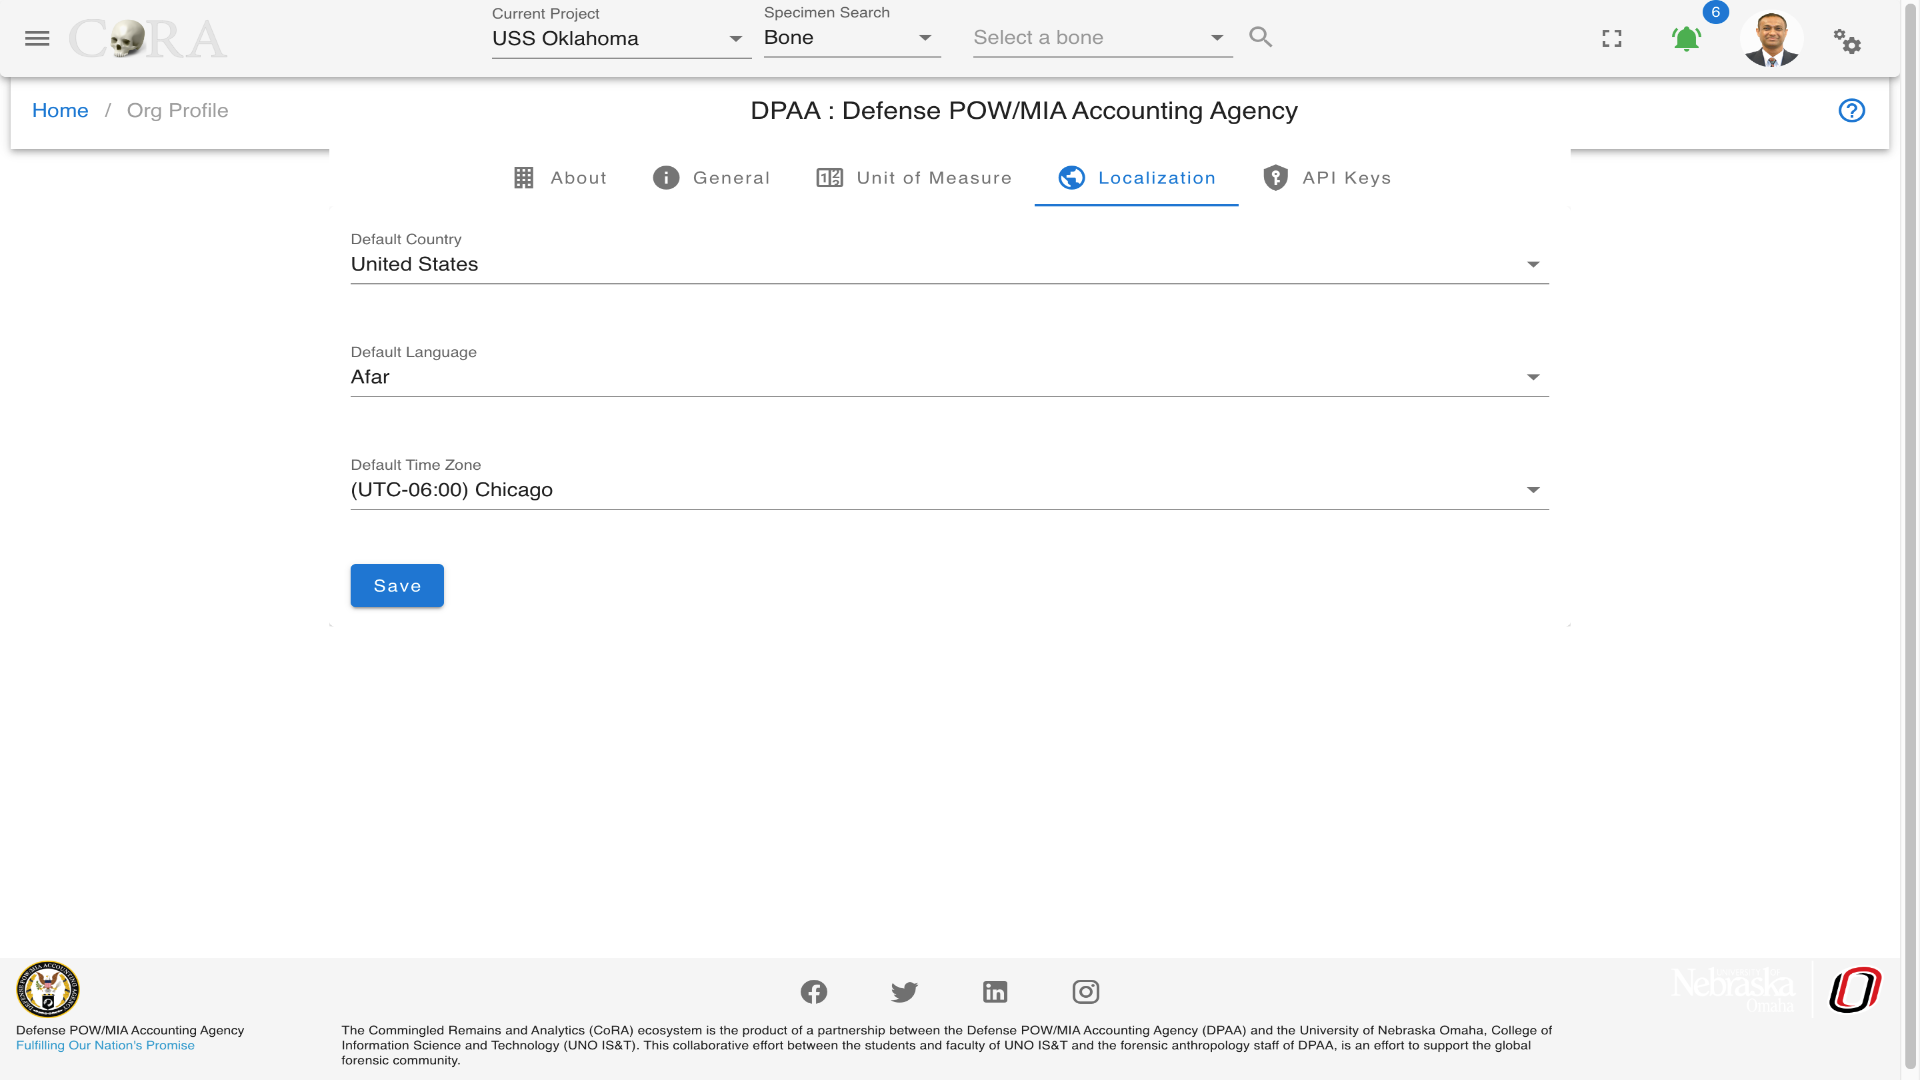
In the Localization tab the org administrator can configure to set the default County, Language and Timezone for all new users created in their organization.
API Keys
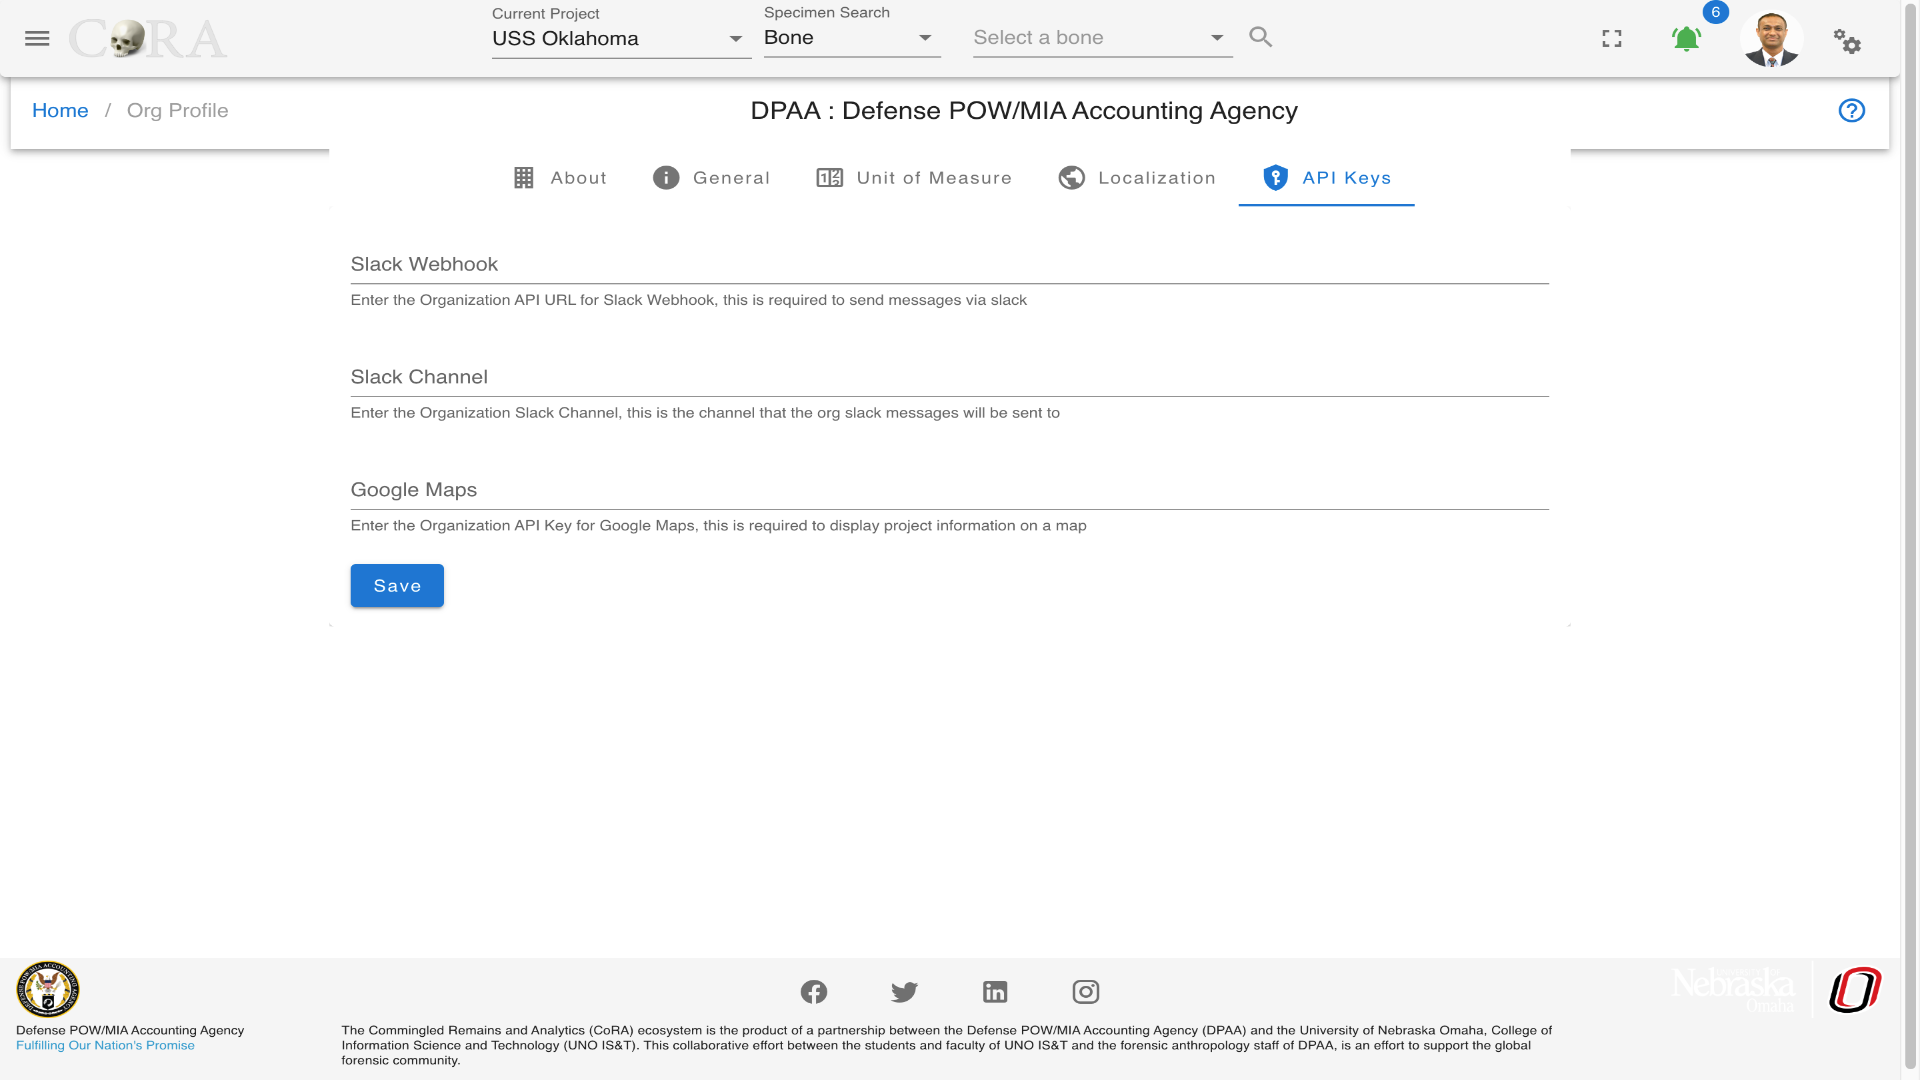
In the API Keys tab the org administrator can configure the following for their organization
- Slack Webhook API URL, this is required to send messages via slack.
- Slack Channel, this is the channel that the organization slack messages will be sent to.
- Google Maps API Key, this is required to display project location information on a map.
Created: 2024-10-31